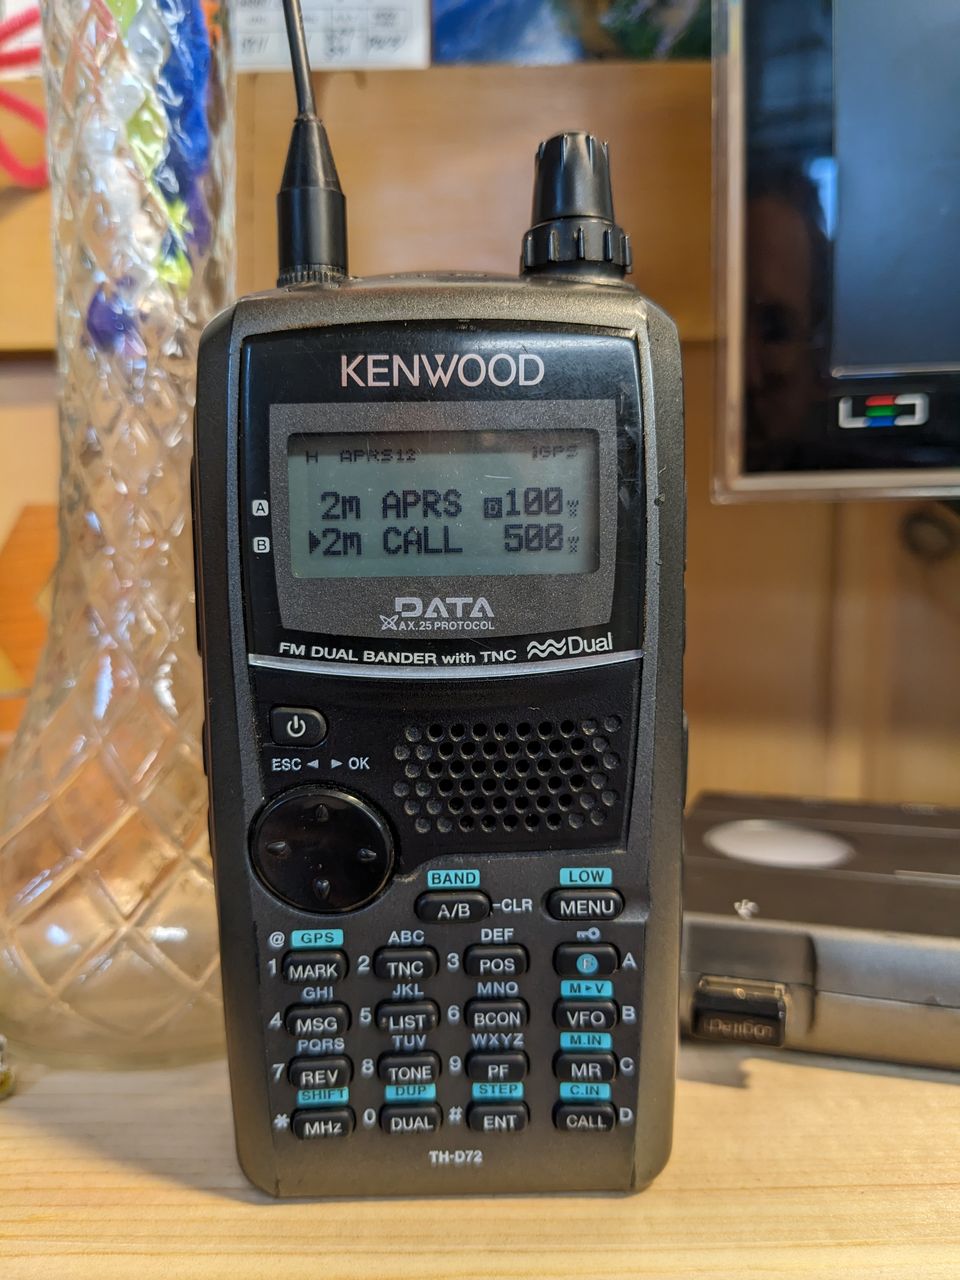
Repairing a broken connector on a TH-D72 radio
I broke the SMA antenna connector on my Kenwood TH-D72A radio recently, and I was surprised to find how easy it was to repair.
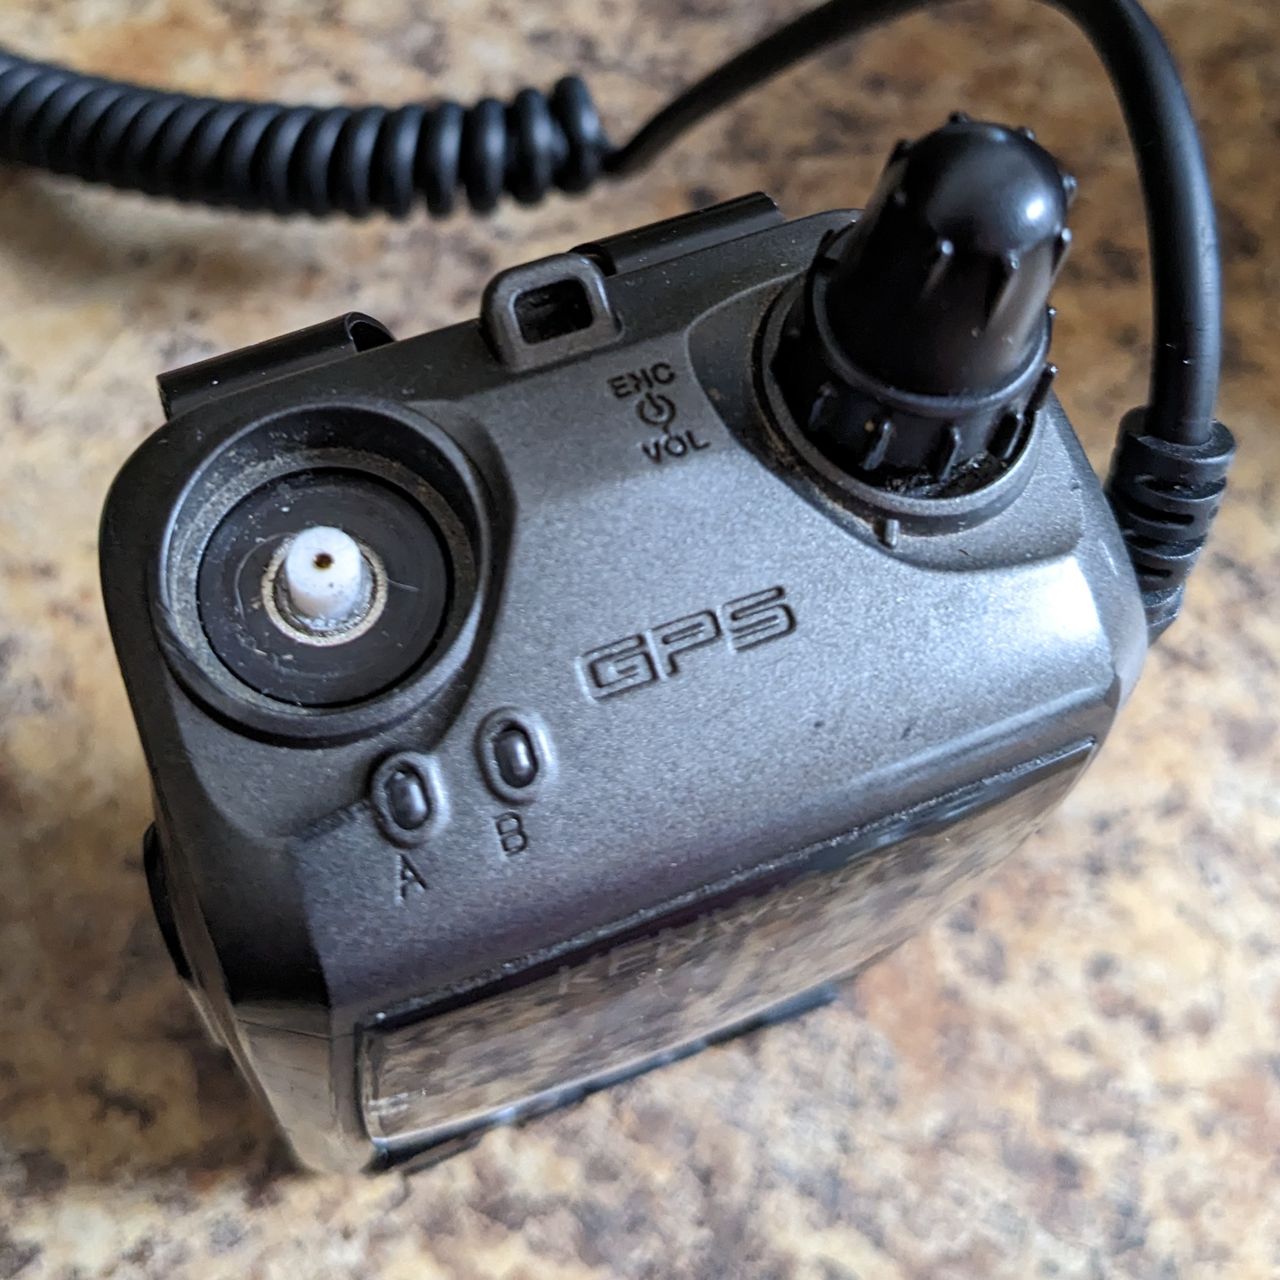
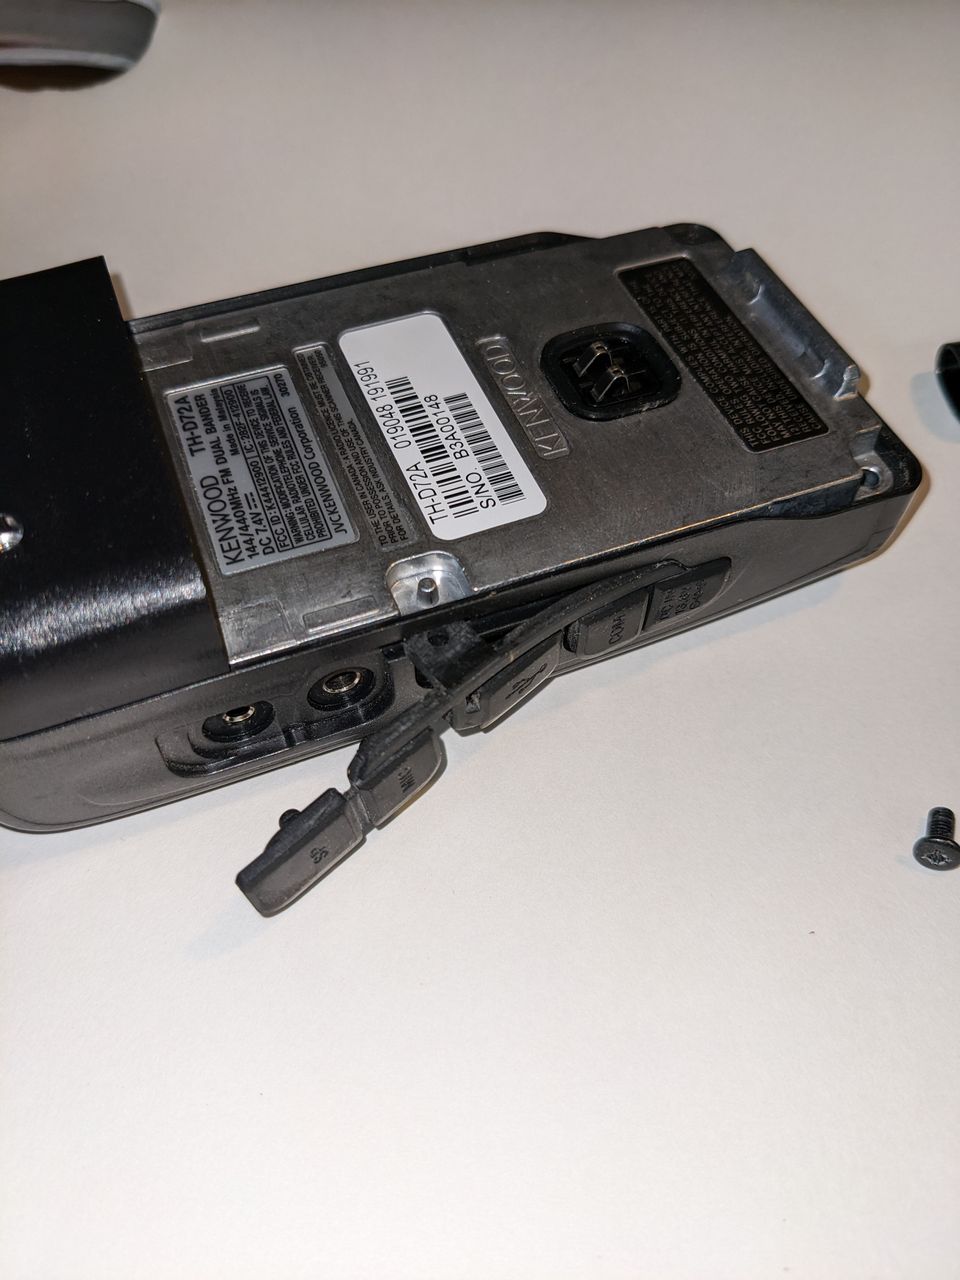
Broken
This happens to every handheld radio eventually, right? At least if you are a klutz like me. I dropped it in the garage, appeared undamaged, and then took it skiing with me. I'm not sure which started to break the connector, but when I got home it was fully broken off.
I was worried I would have to ship this off to the official service shop to get a new connector soldered on. At least, that's what I had to do after my first HT fell off my desk while still connected via a pigtail to an amplifier. Thankfully I feel a lot more confident pulling things apart and getting them back together now, and even doing a little soldering, so I thought I would see how bad of a repair this was. Turns out that the antenna is connected to the main board via a little spring, and the part was easy to find online and not too expensive.

So I ordered the part, was working on moving my hamshack and bringing my soldering station inside from the cold garage, and then life happened and it sat around in my desk drawer for about a month. I promised a few folks to document this, so here it goes.
I'm not a video producer person - I tried when iMovie first came out, but I learn better from written articles, but I will include lots of photos. If you want to find a video of someone tearing down a TH-D72A and repairing the speaker, here is the one that inspired me to try opening up the radio.
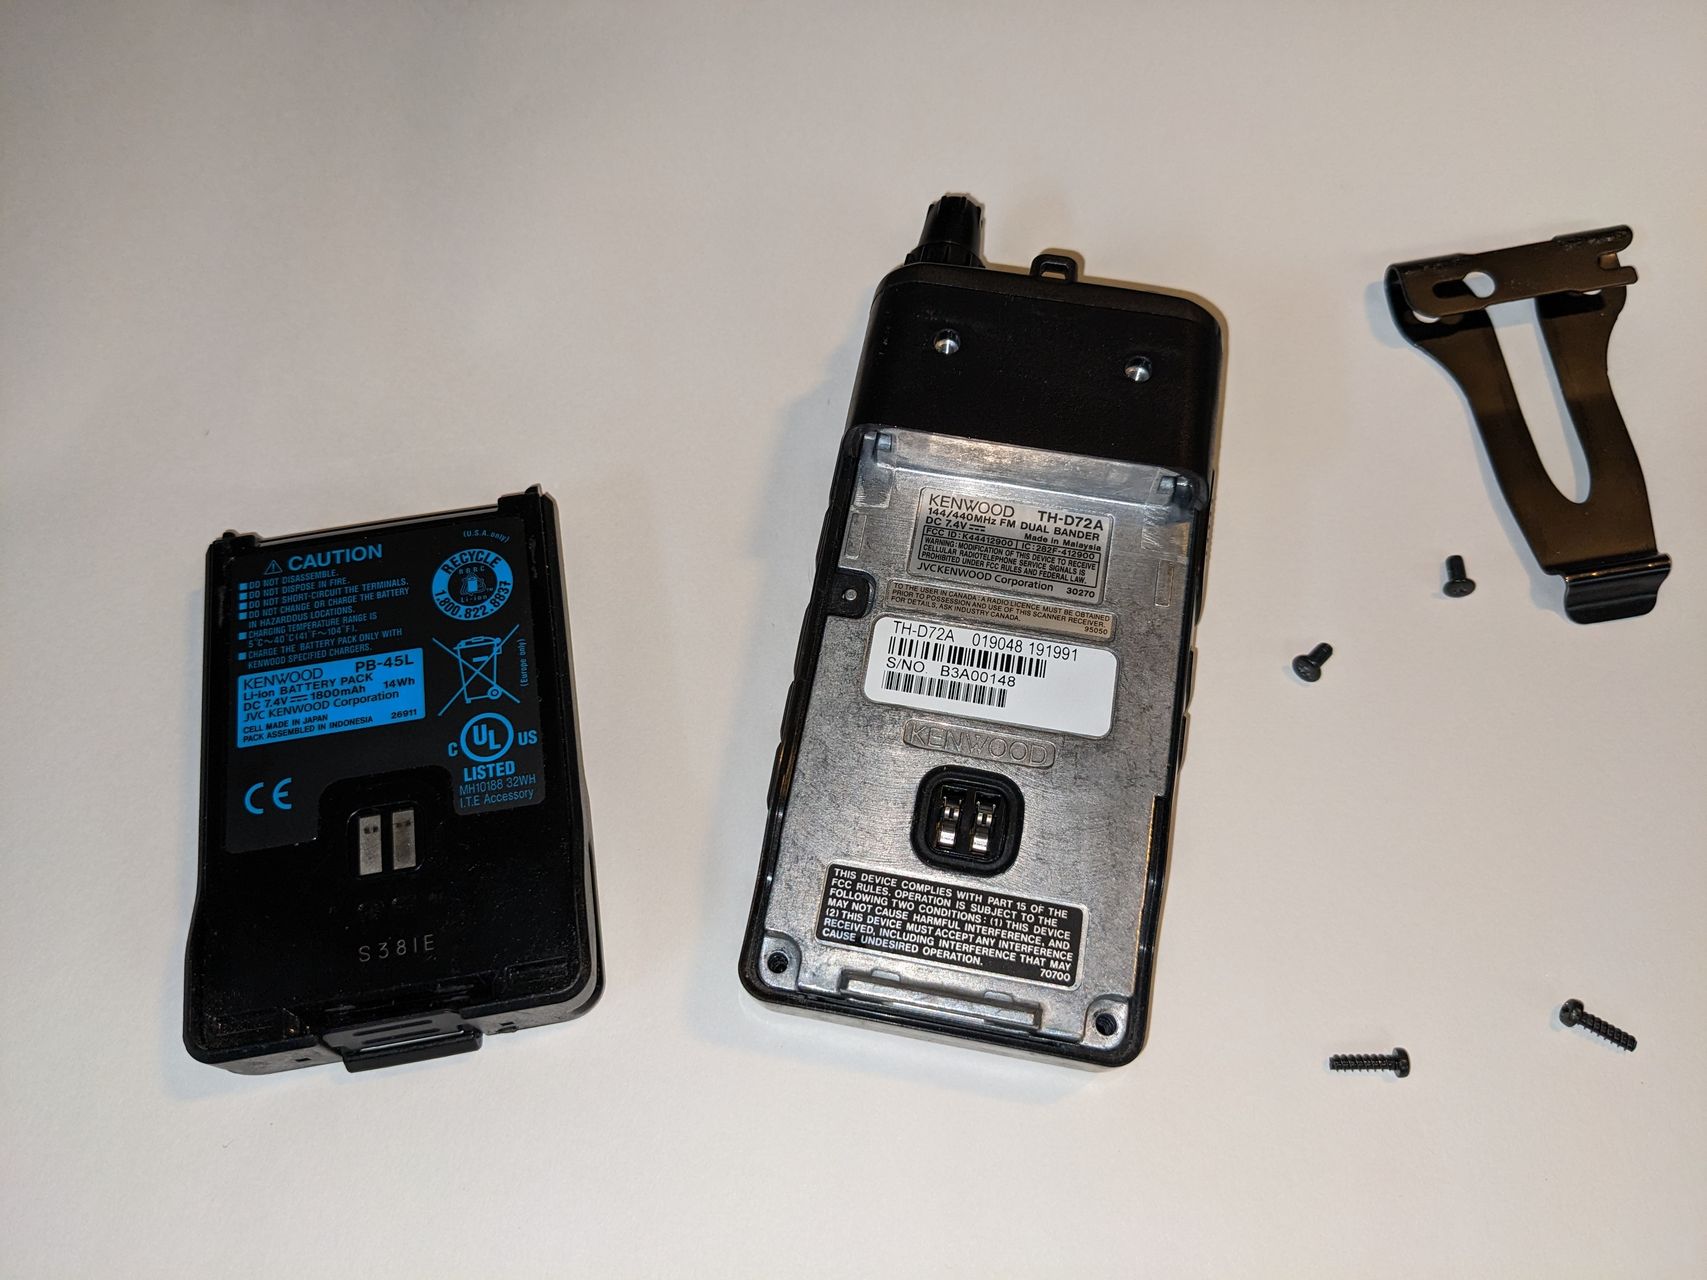
Disassembly
Pulling apart the radio is fairly easy. Remembering how to remove the battery (lift latch and then press button) was the most difficult part. There are two screws holding the belt clip on, and two screws at the bottom of the battery compartment that need to be removed.
Next the rubber port cover needs to be removed. Slipping a small screwdriver under the nub that sticks into the battery compartment is necessary and then it comes off very easily.
Pulling off the cover takes a little muscle but should come off easily. At this point the button pad and arrow pad on the front are loose, nothing else holds them down. Be sure to put the arrow pad back on before reassembly! I forgot the first time. When you put them back together, trying to get the buttons to line up is important, but if a few are askew you can rub them around to get them back into place.
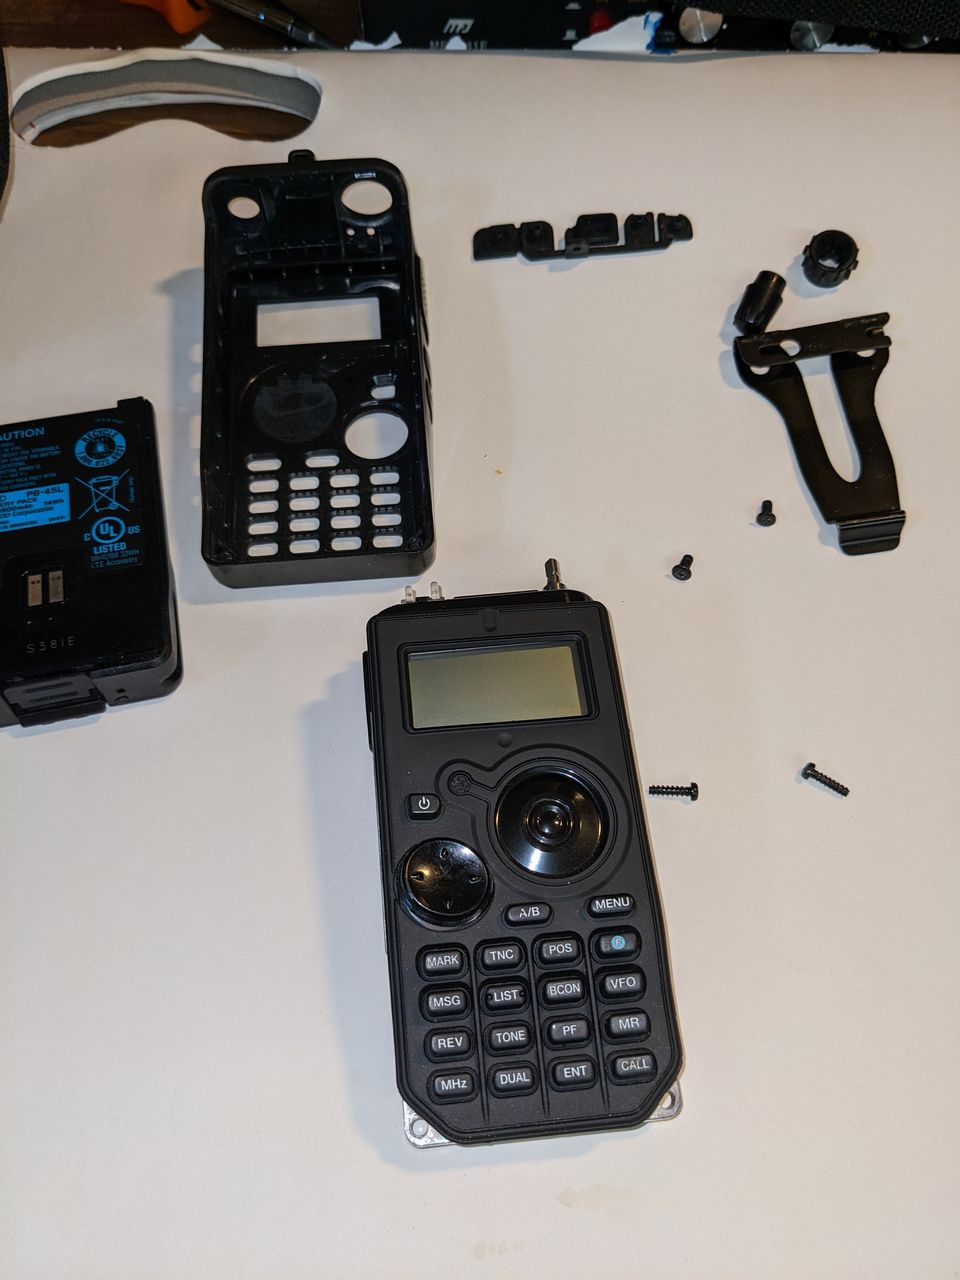
The two knobs for the dial and volume control need to be pulled off - these are just held in place by friction.
Finally you need to remove two covers over the top of the radio, this plastic one and a rubber one under it. The plastic one has a couple of points that snap it in place. Work around it to find these and slide it off. The rubber one can be bent back while working on the components under it. This plastic one is easy to forget and needs to go back on the radio before putting the cover back in place.
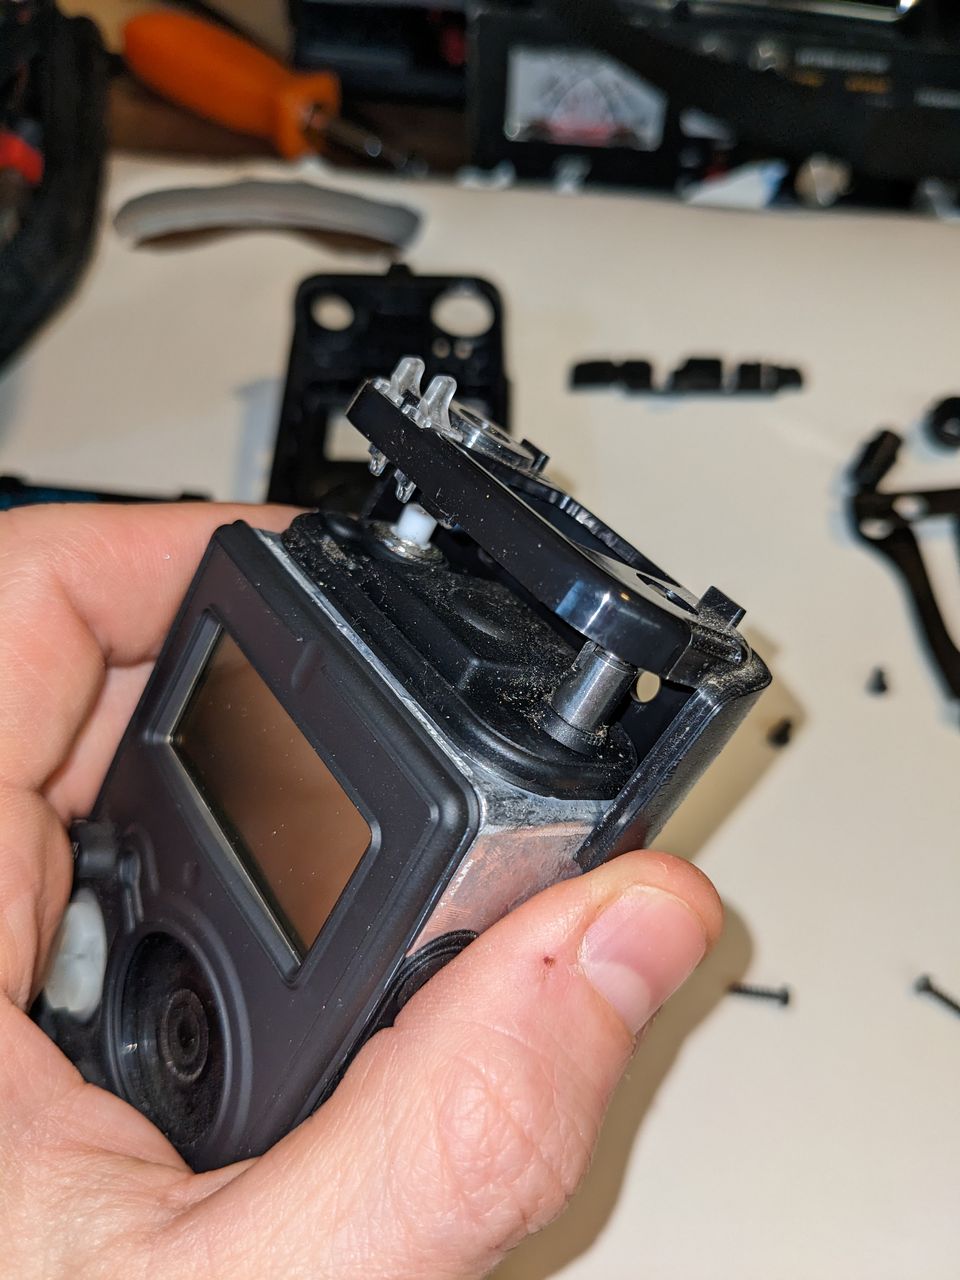
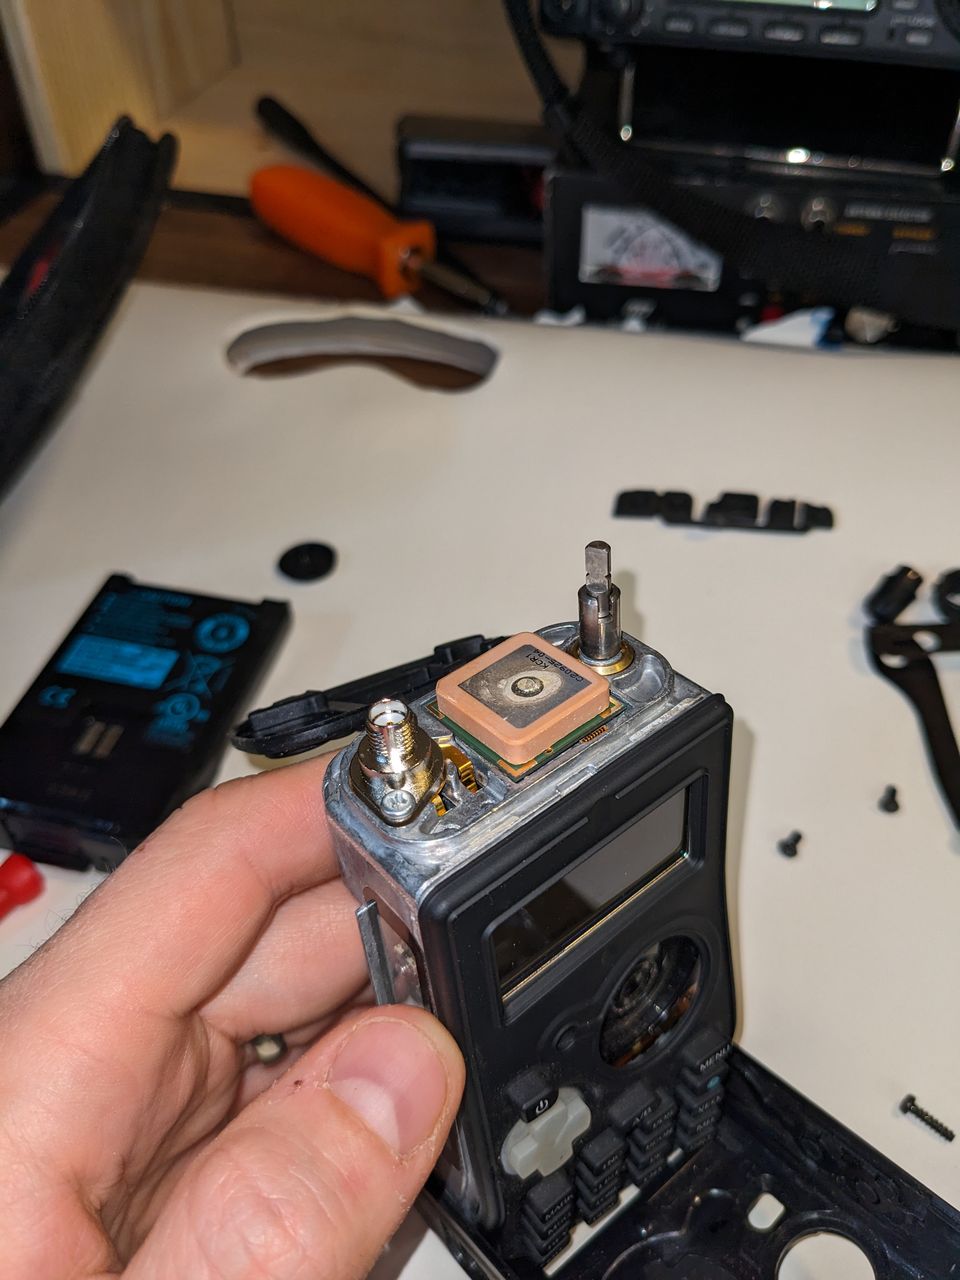
The connector is held into place with two small screws.
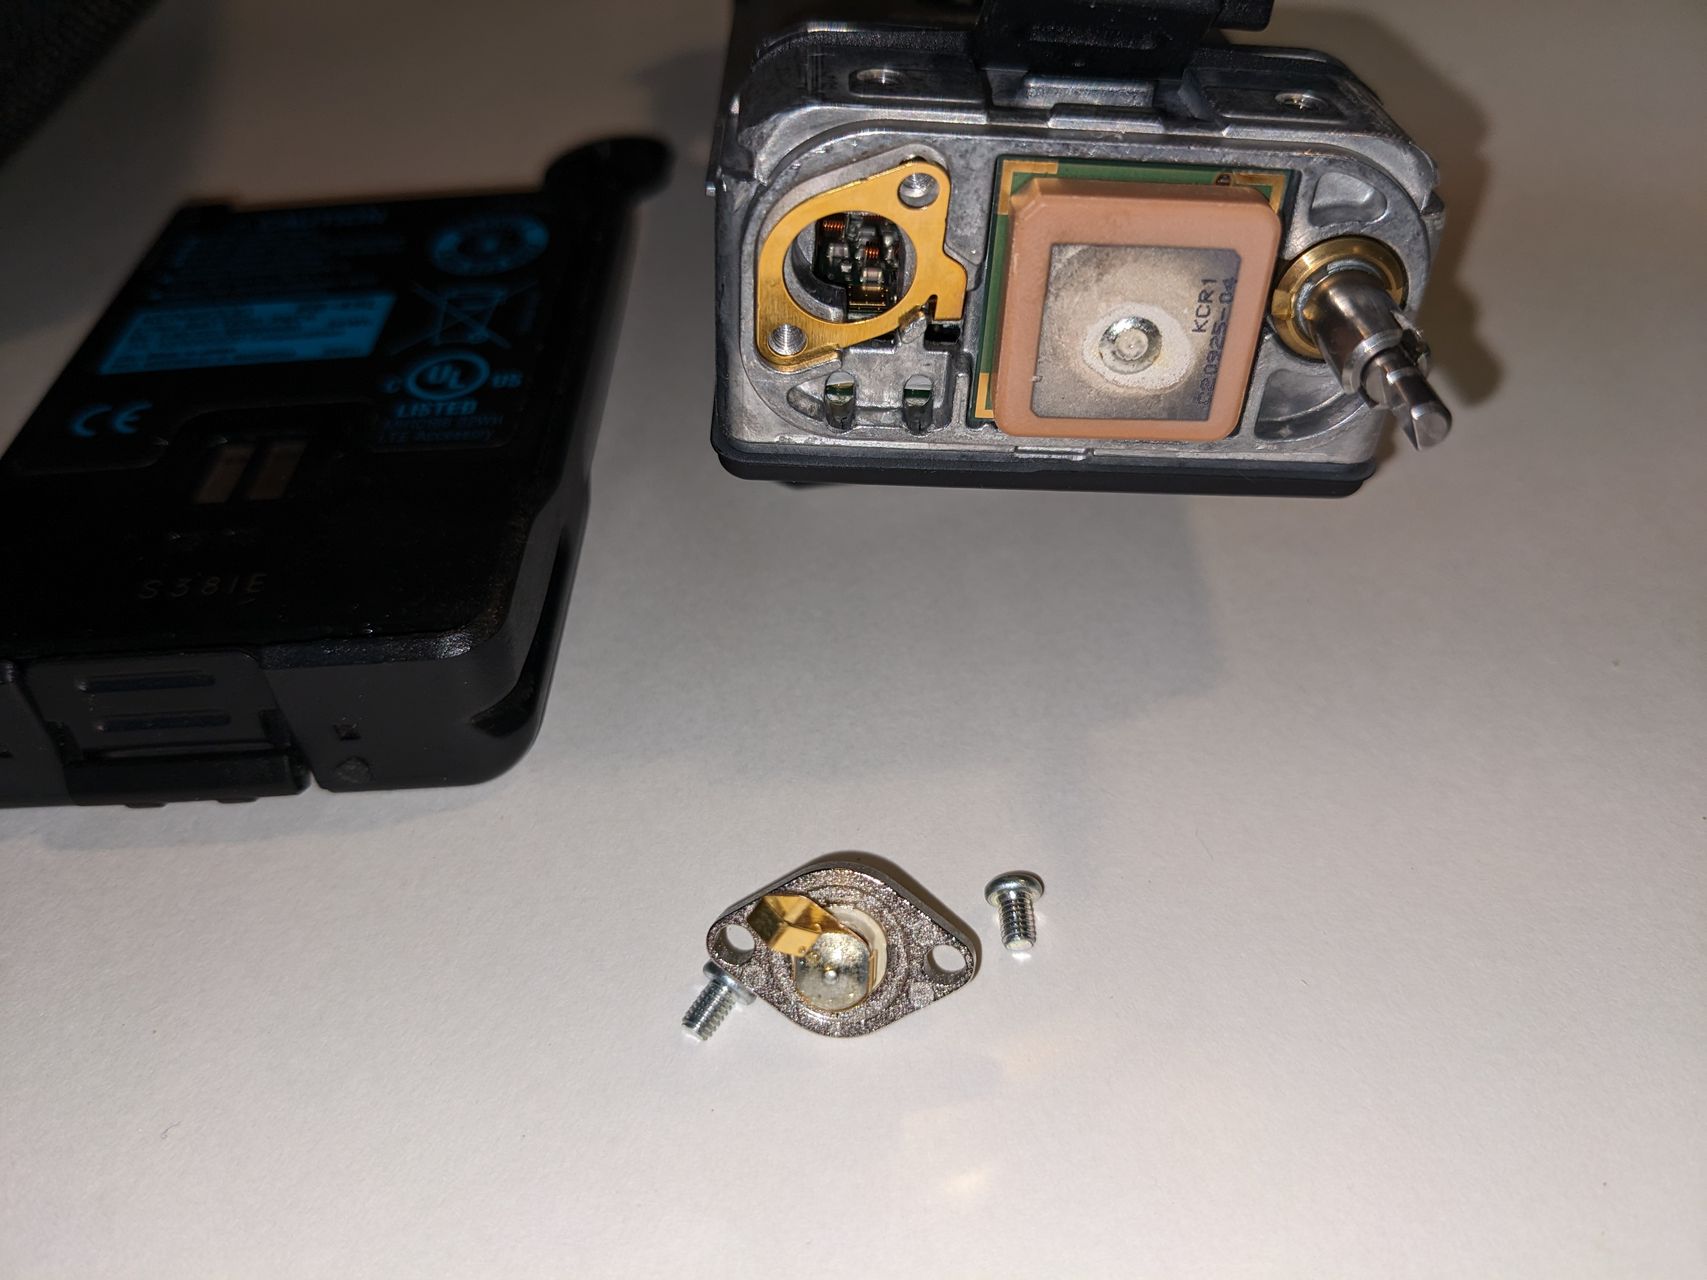
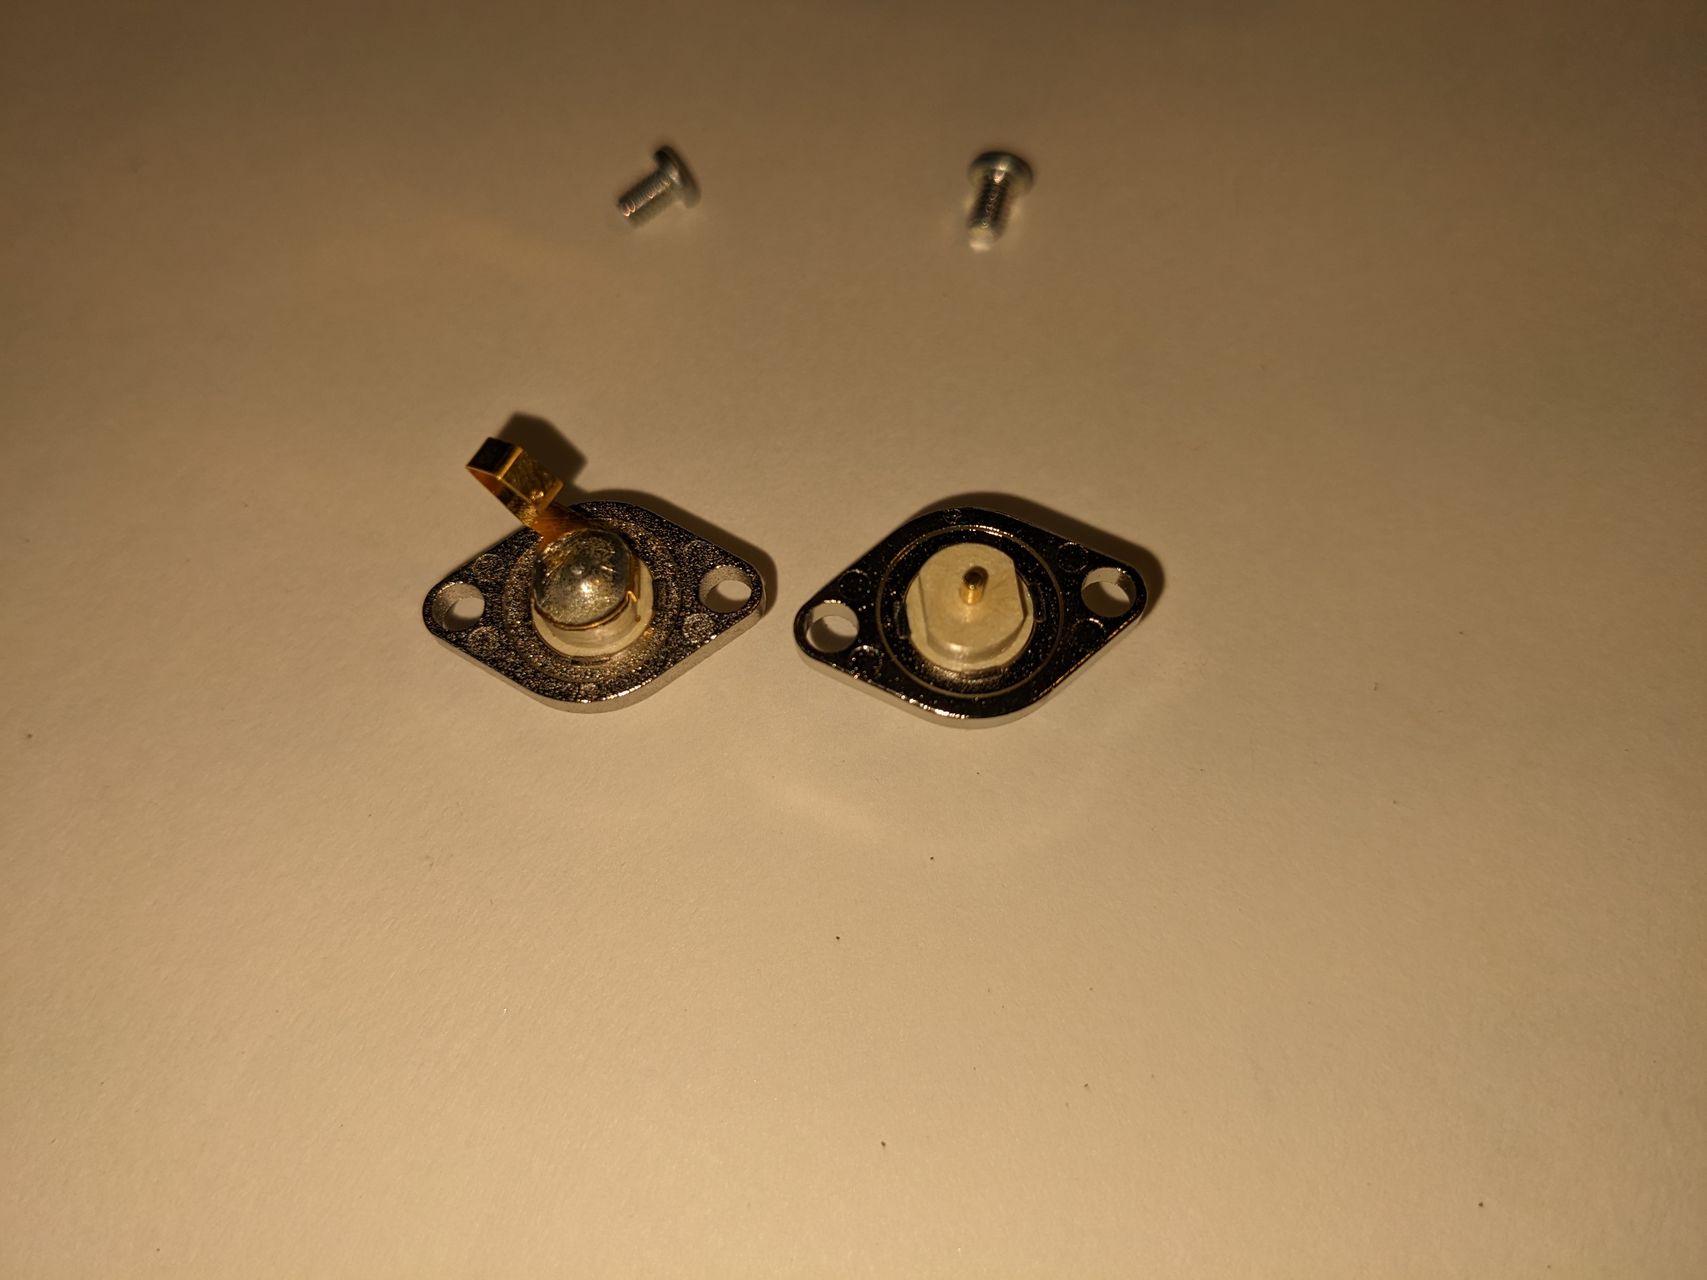
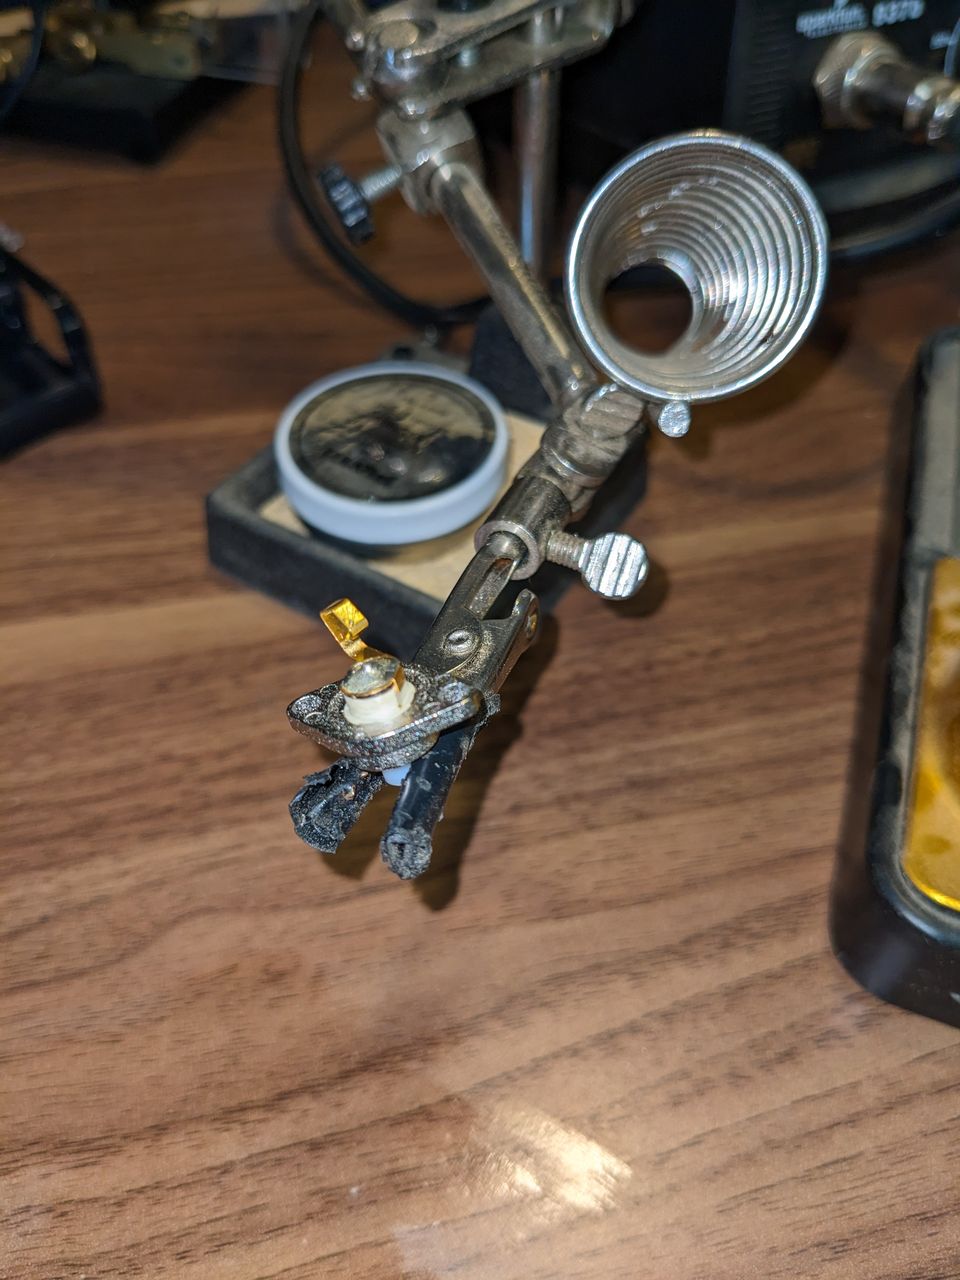
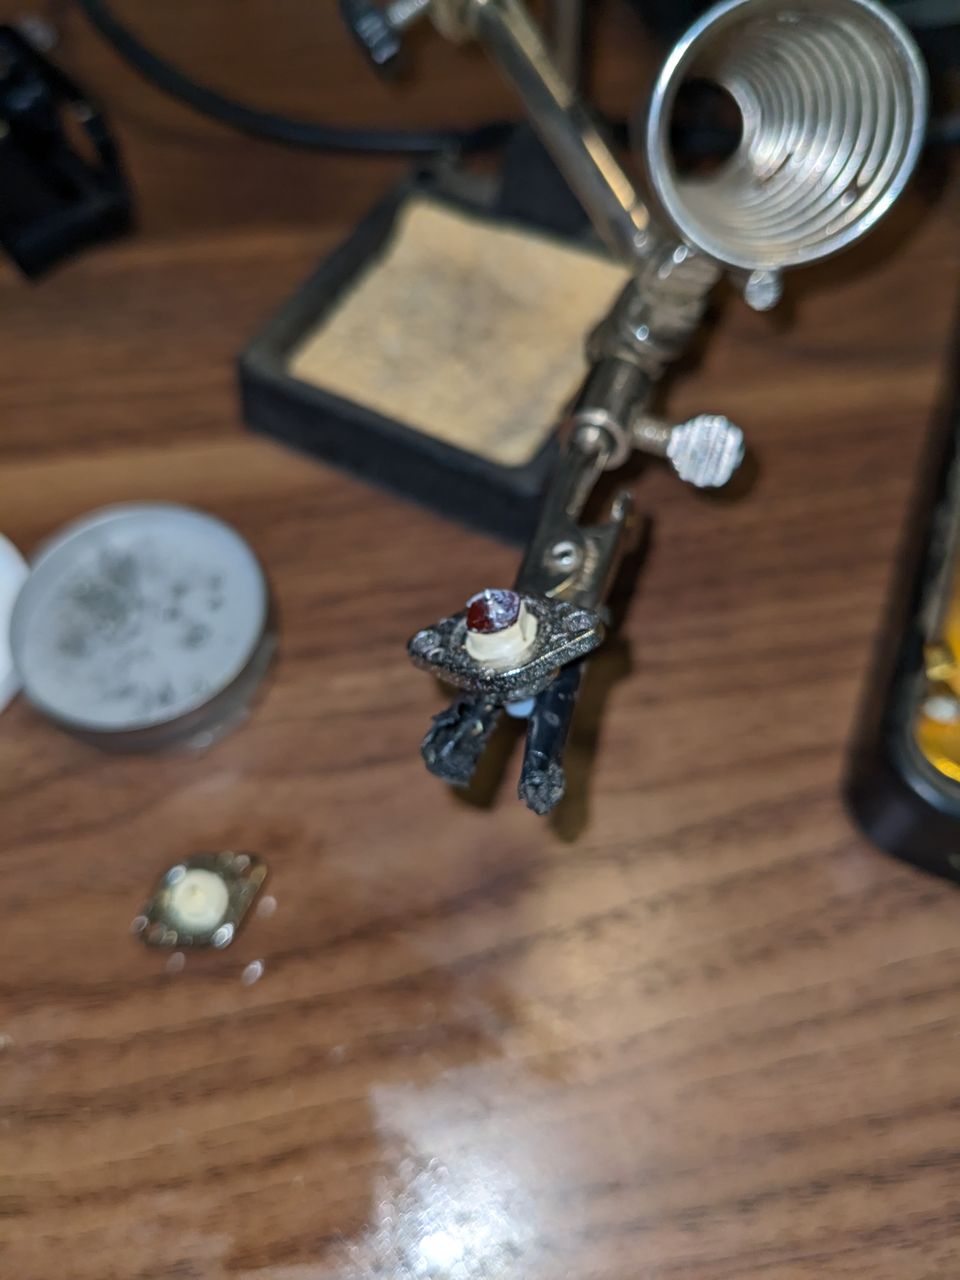
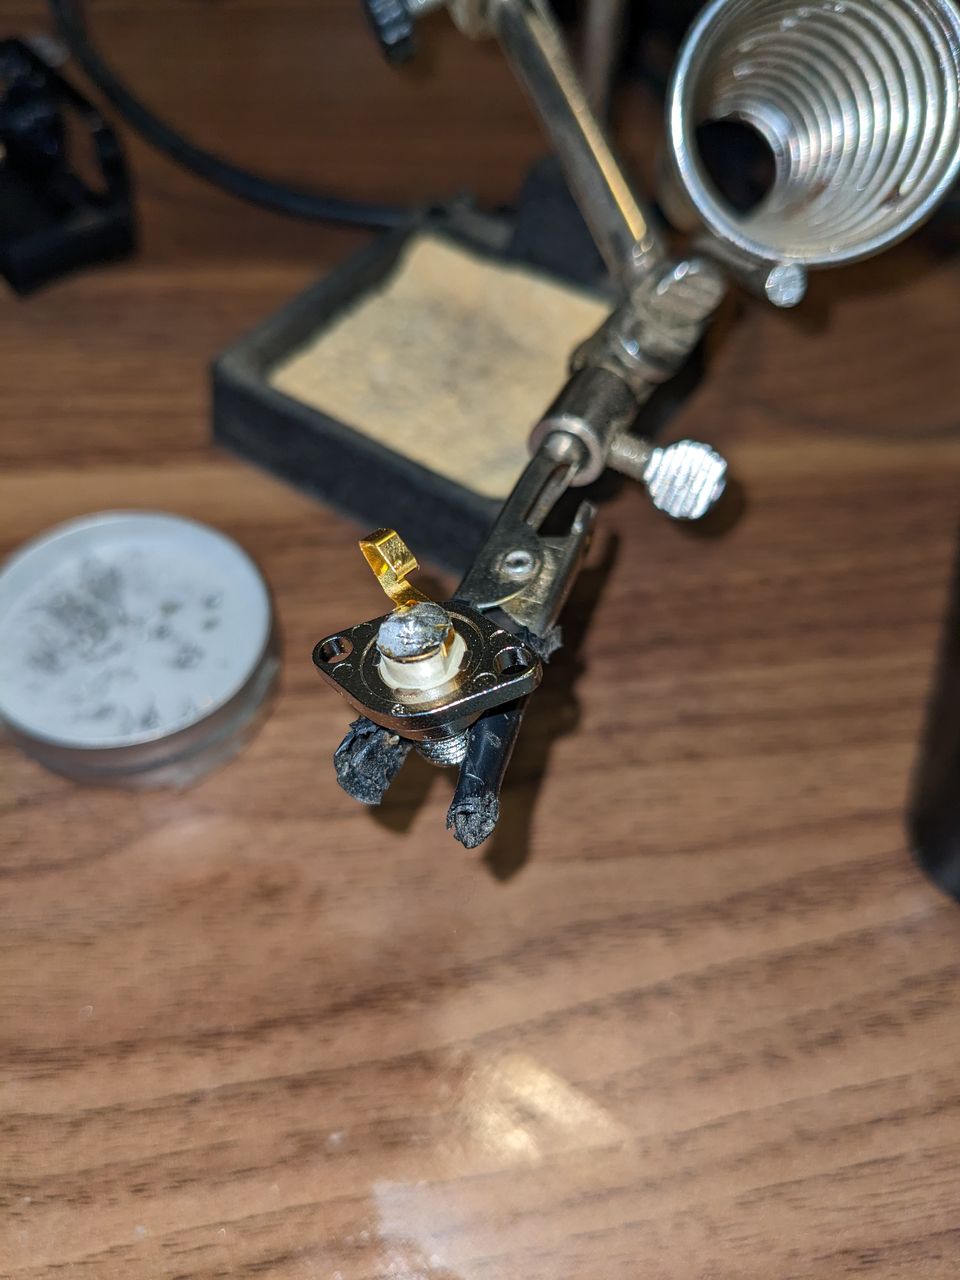
Soldering new connector
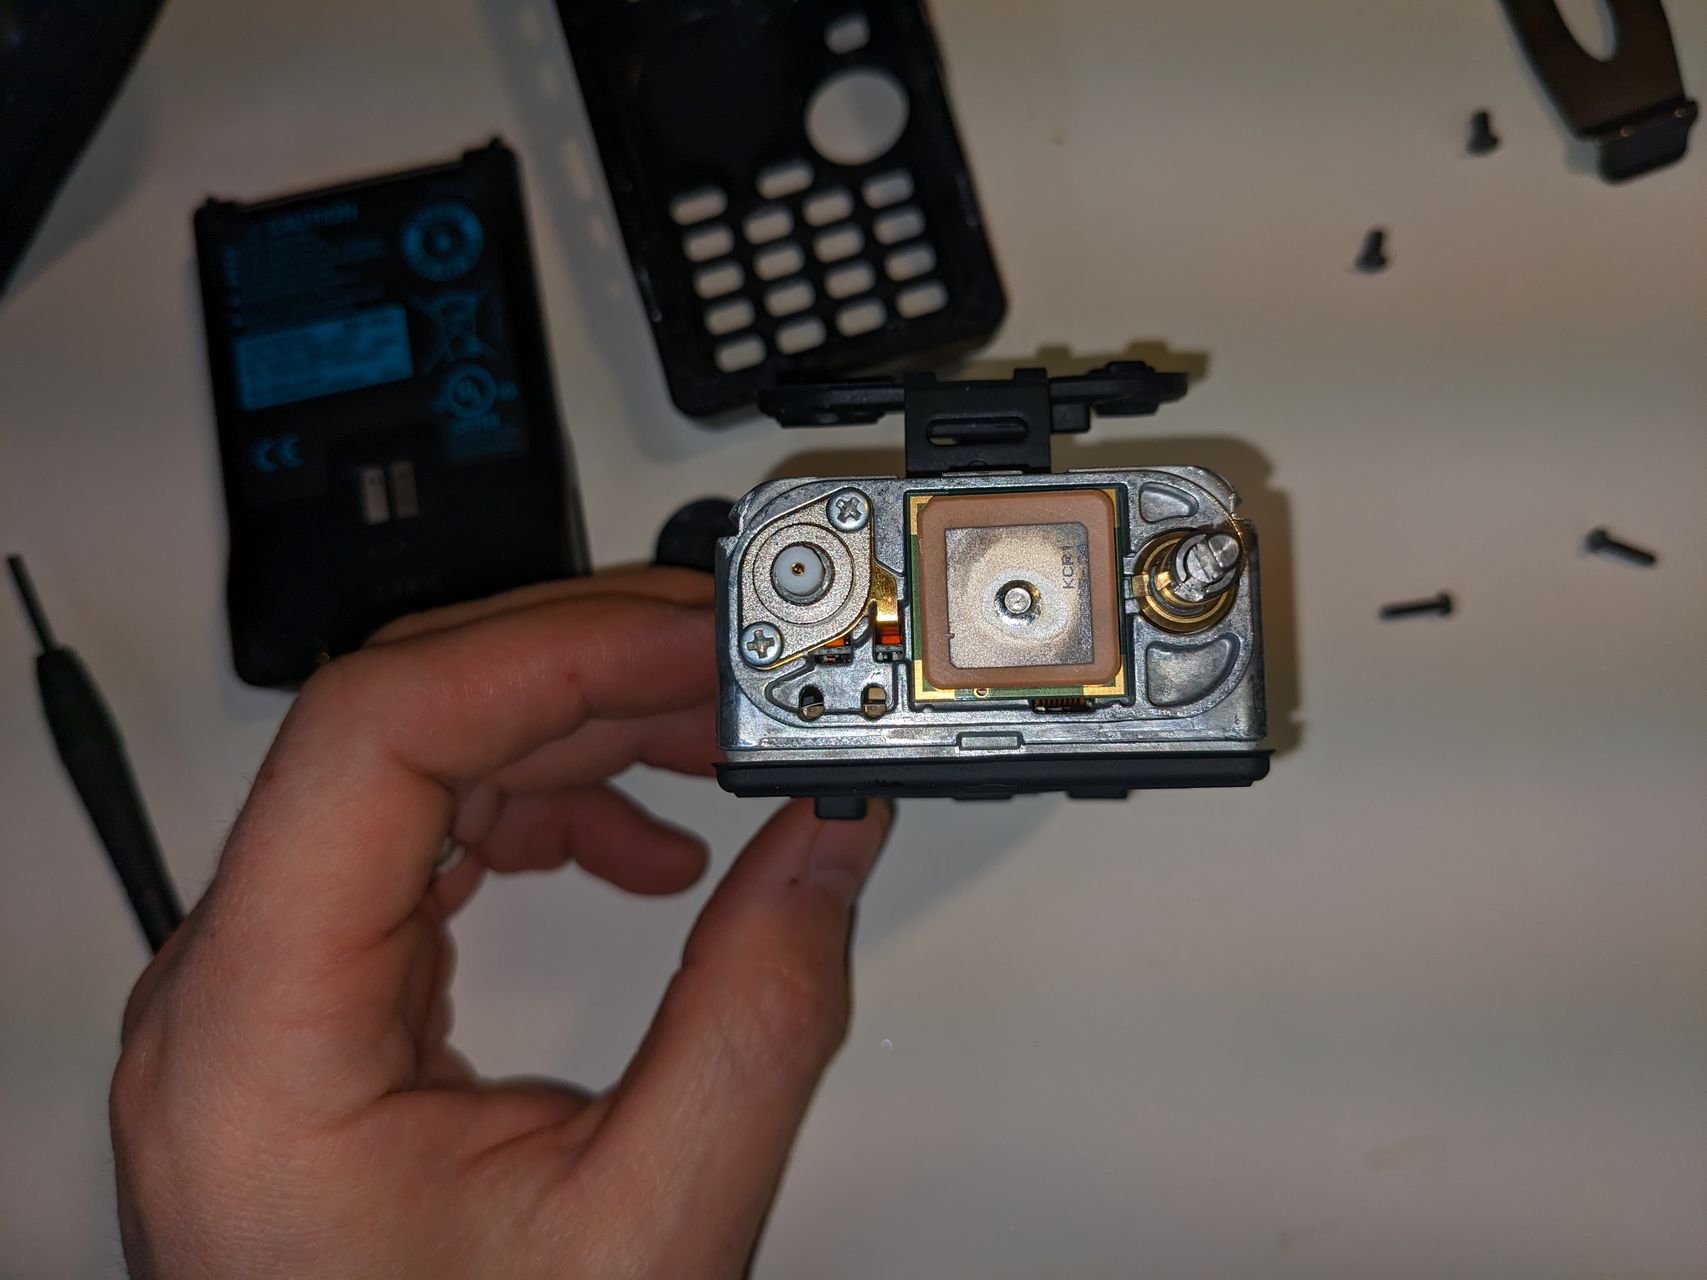
This was the trickiest part for me - thankfully the spring and connector have a couple of flat spots that ensure you align the spring correctly. There is a little red-brown plastic pad (blurry second photo below) between the connector and spring that you need to transfer over before soldering the spring on the new connector. I pried it off with a screwdriver after unsoldering the spring, which took a little effort. It appeared to have some kind of loose glue holding it.
Installing and fixing
Putting it back together is roughly the reverse of disassembly. Once the new connector was installed, I put it all back together and tested on my local repeater. I hadn't gotten a call back but I was at least able to key it up from my basement, which makes me think I sufficiently repaired the radio.