Mud table
Concept
I set about to build myself a sediment flume my kid a mud table, which he asked for his birthday. We had discussed giving him a corner of our yard as a mud pit to play in, but I felt like this would be easier to clean up after and give him a little bit more fun with a recirculating pump to keep water flowing through it.
I set about designing something to hold an old under-bed storage container I had, approximately 35 inches long by 16 inches wide. I realized if I was going to fill it with play sand, I would need it to be strong enough to hold the weight and not fall apart. This seemed like a good use of my router table to try making some mortise and tenon joints. I decided to build the frame from 2x4 cedar that I purchased at the big orange store, and coated with a couple of heavy coats of spray polyurathane to help make it water resistant. I puchased PVC piping and joints, a pond pump, and hose to complete the water recirculating system.
Construction
I used my router table to cut both the mortises and tenons, taking several test cuts in each configuration to make sure the pieces would fit together.
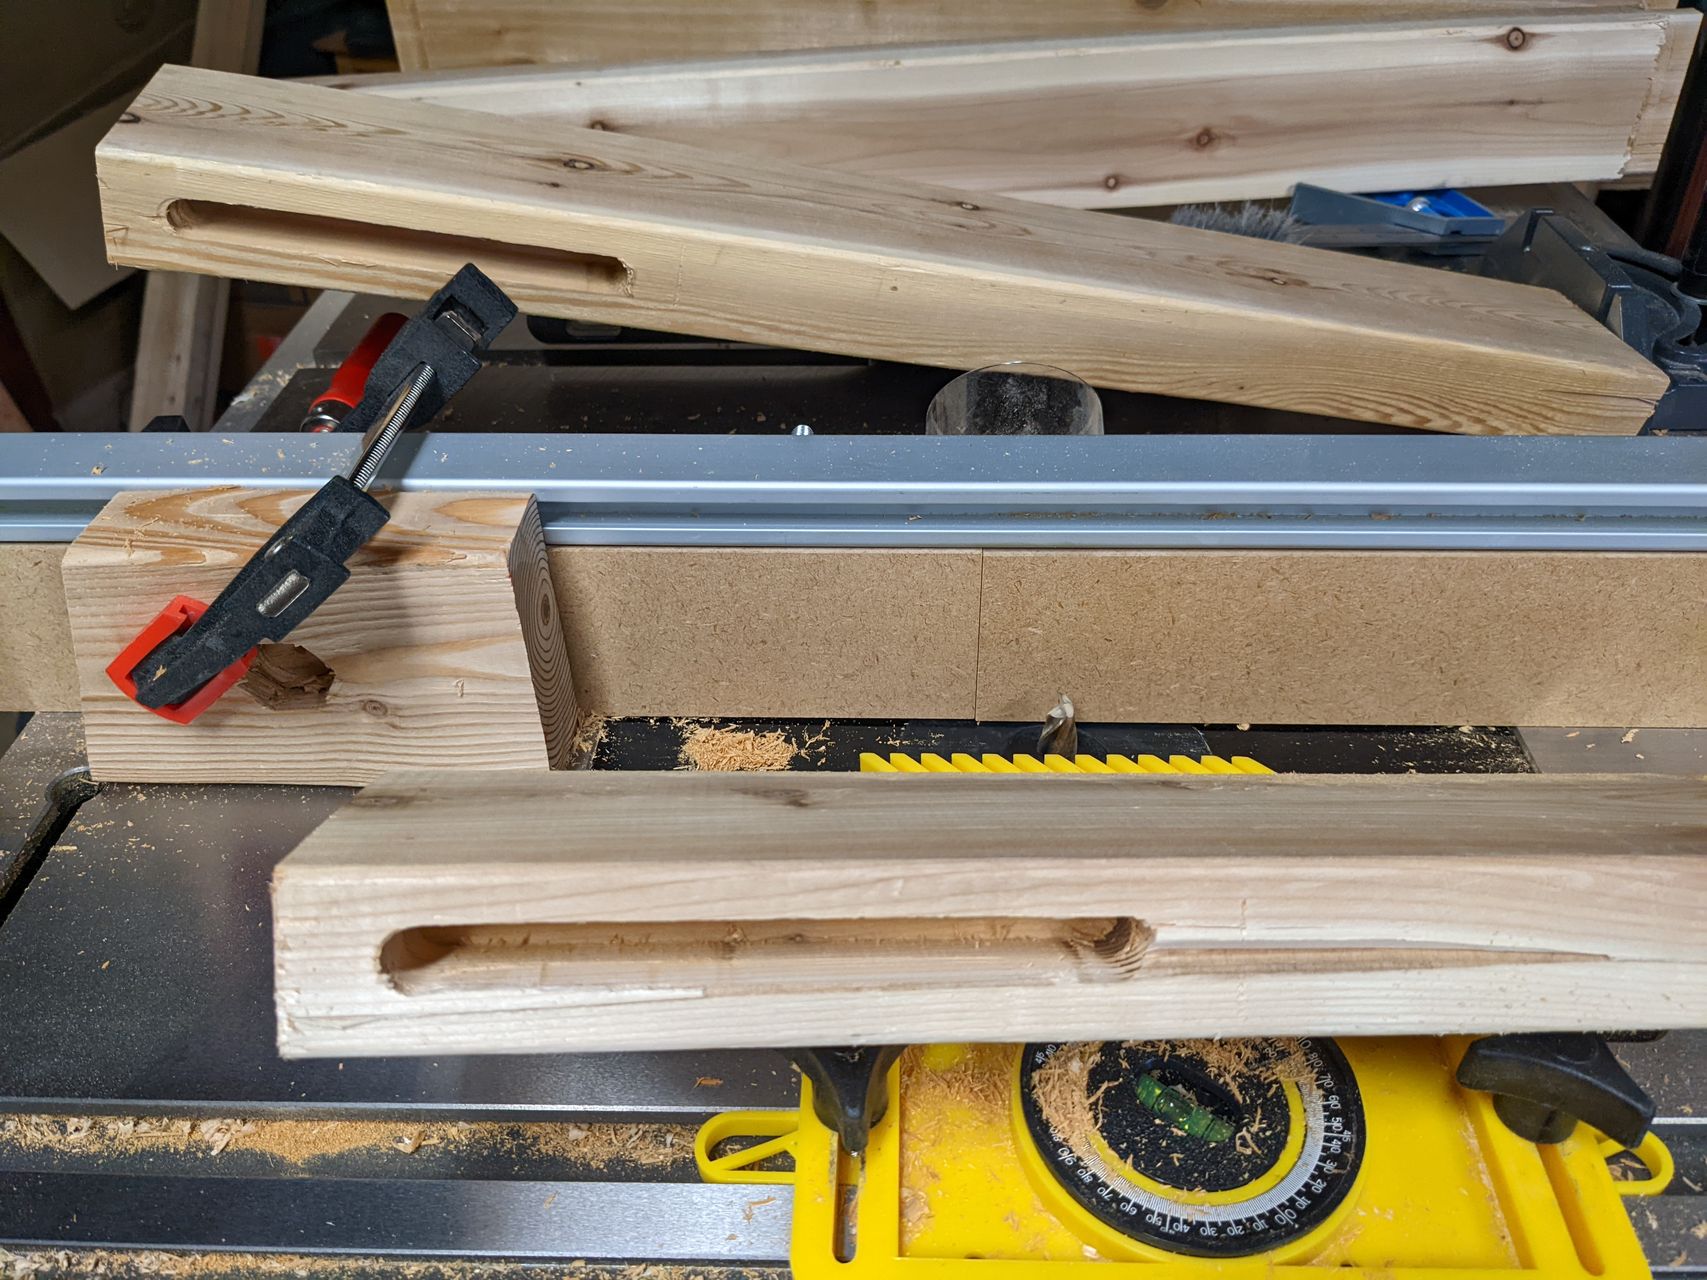
Above you can see the stop block and feather board I used to get consistent mortises on my router table.
These tenons were cut with my miter gauge and the router table, adusting the bit height until I got the thickness I wanted.
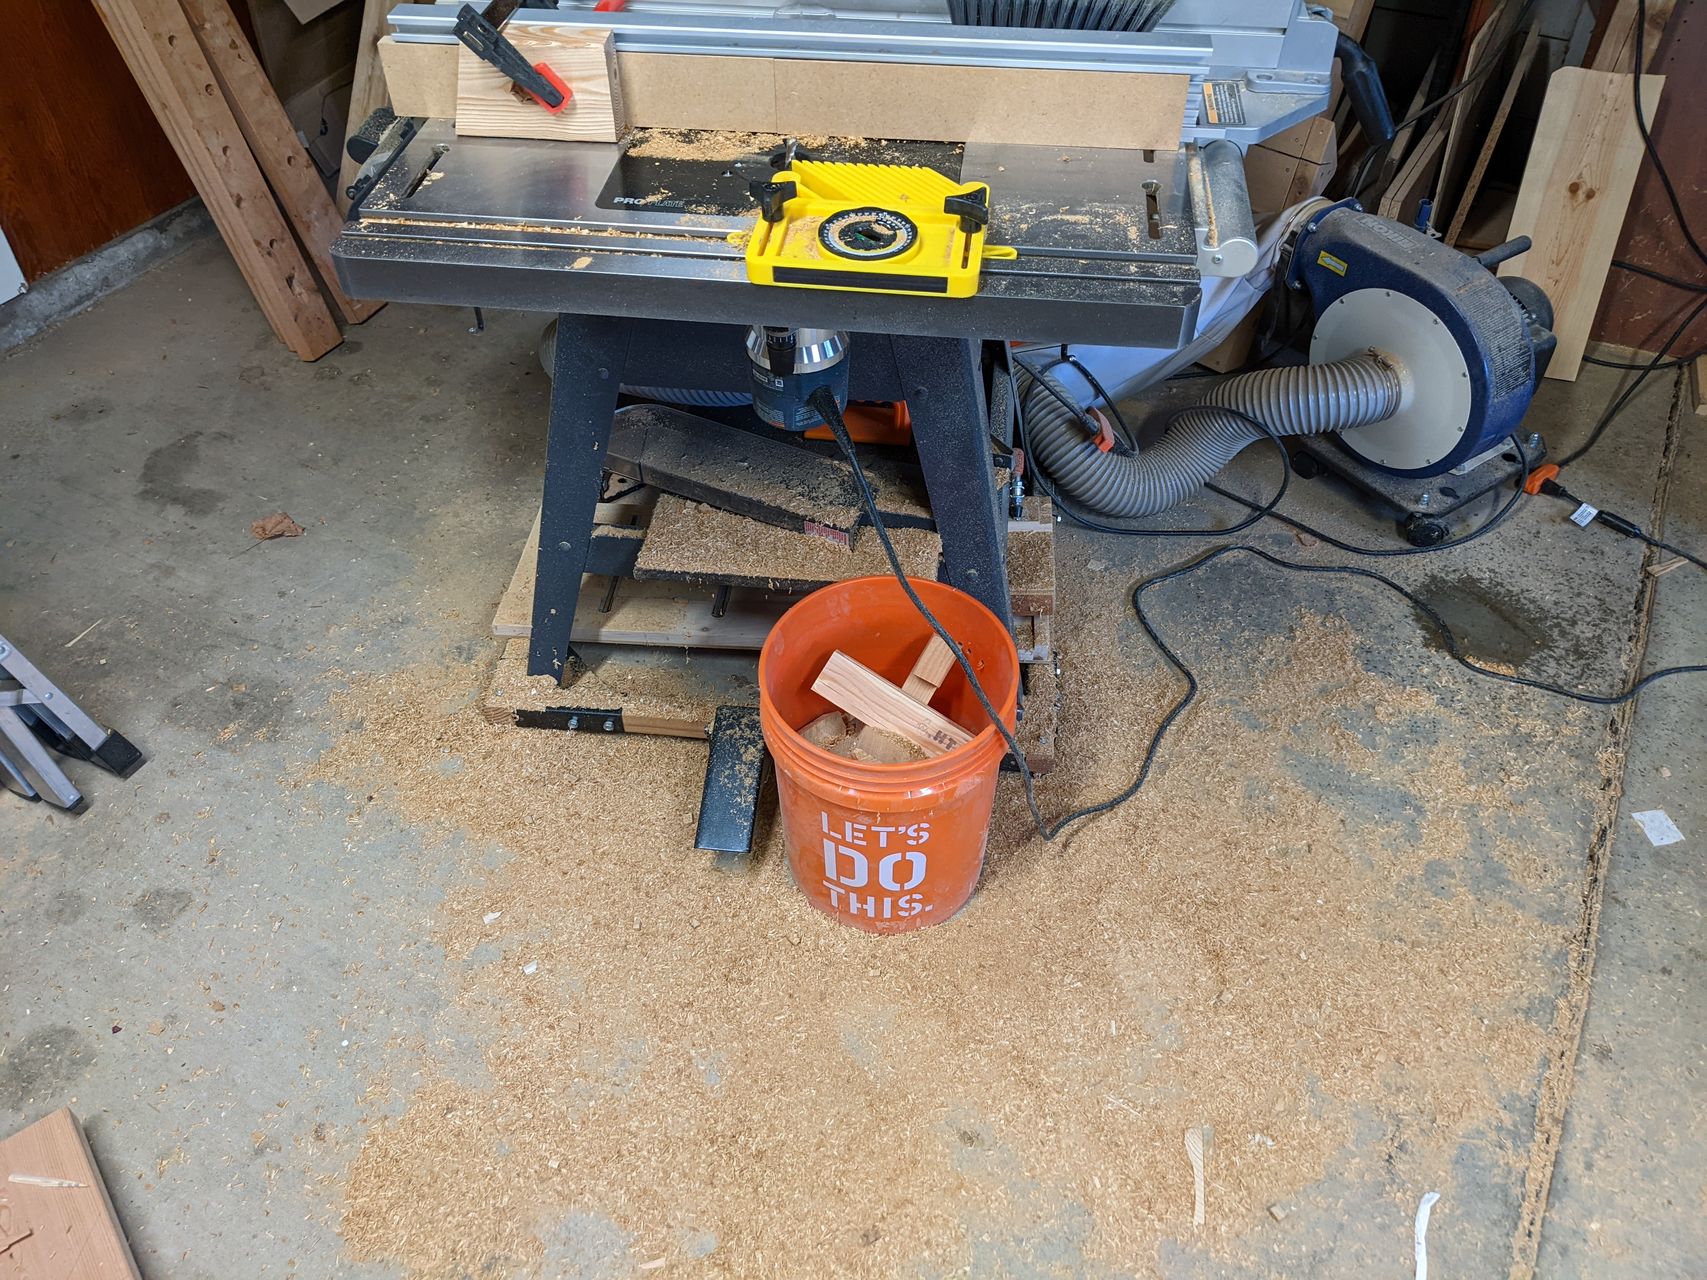
This was a really messy process, and without some kind of enclosure for my router, it left a huge mess of cedar sawdust under my table saw / router table.
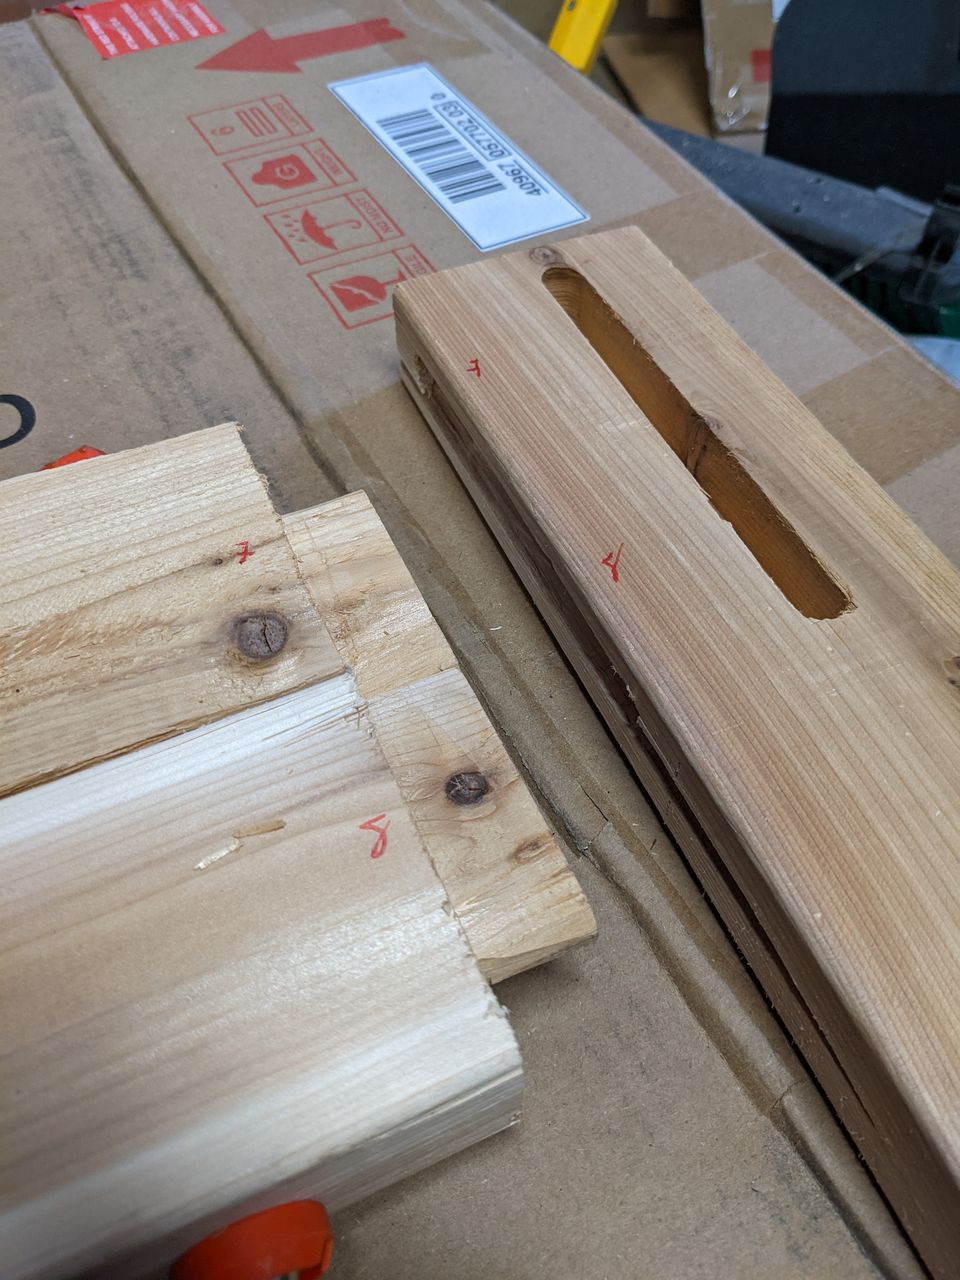
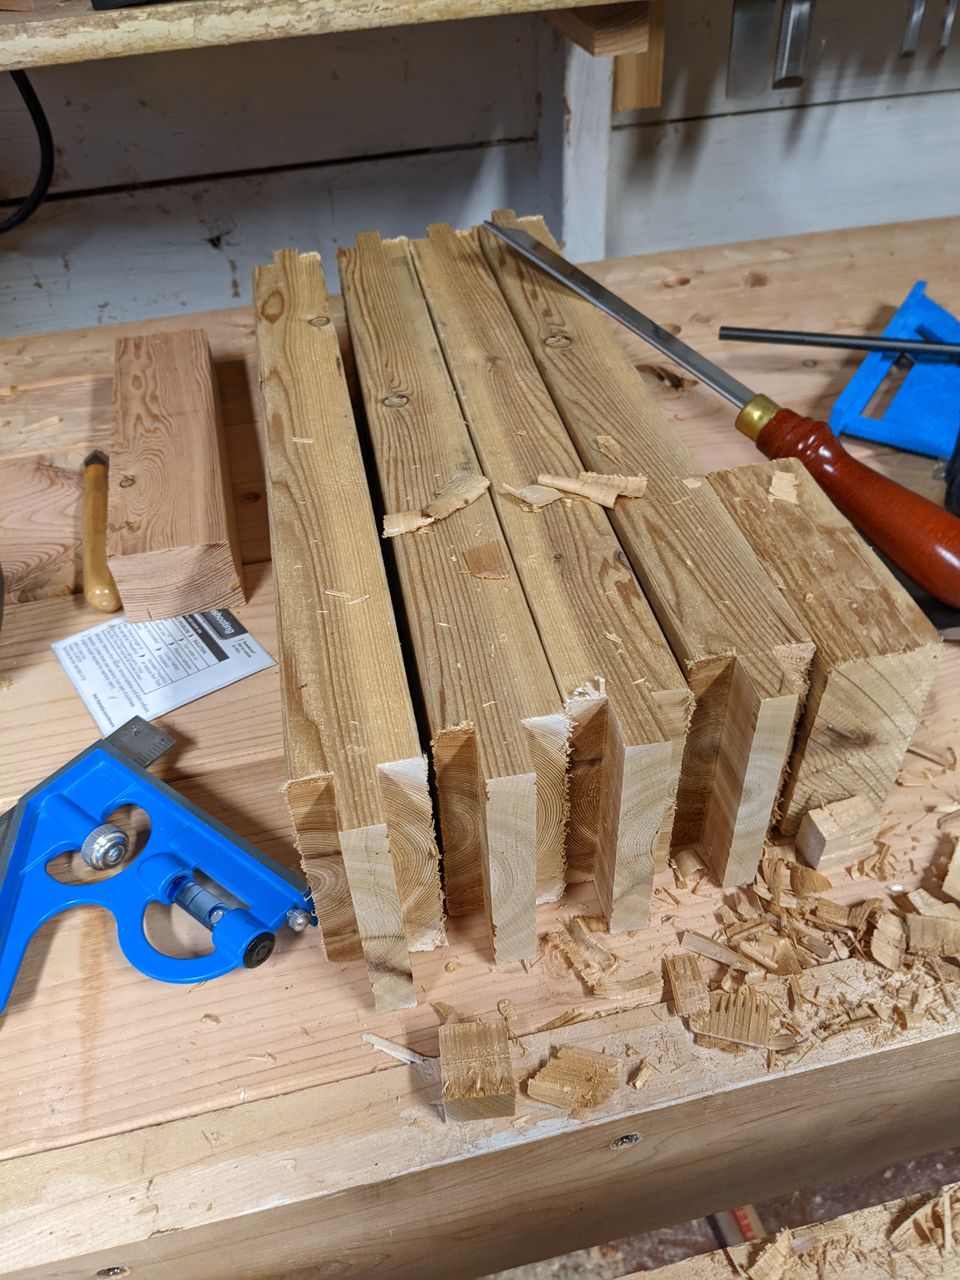
Assembly after cutting the morises and tenons wasn't too difficult. I tied to align the nicer sides of boards out, but also to compensate for wider or narrower mortises and tenons. After a test fit of each joint, I numbered each joint to help final assembly. I did have to use my chisel to help refine a few of the morises and tenons that didn't quite fit. Where needed, I rounded over the tenons with a few quick slices using my chisel, not trying to get a perfectly rounded joint, but just something that would fit.
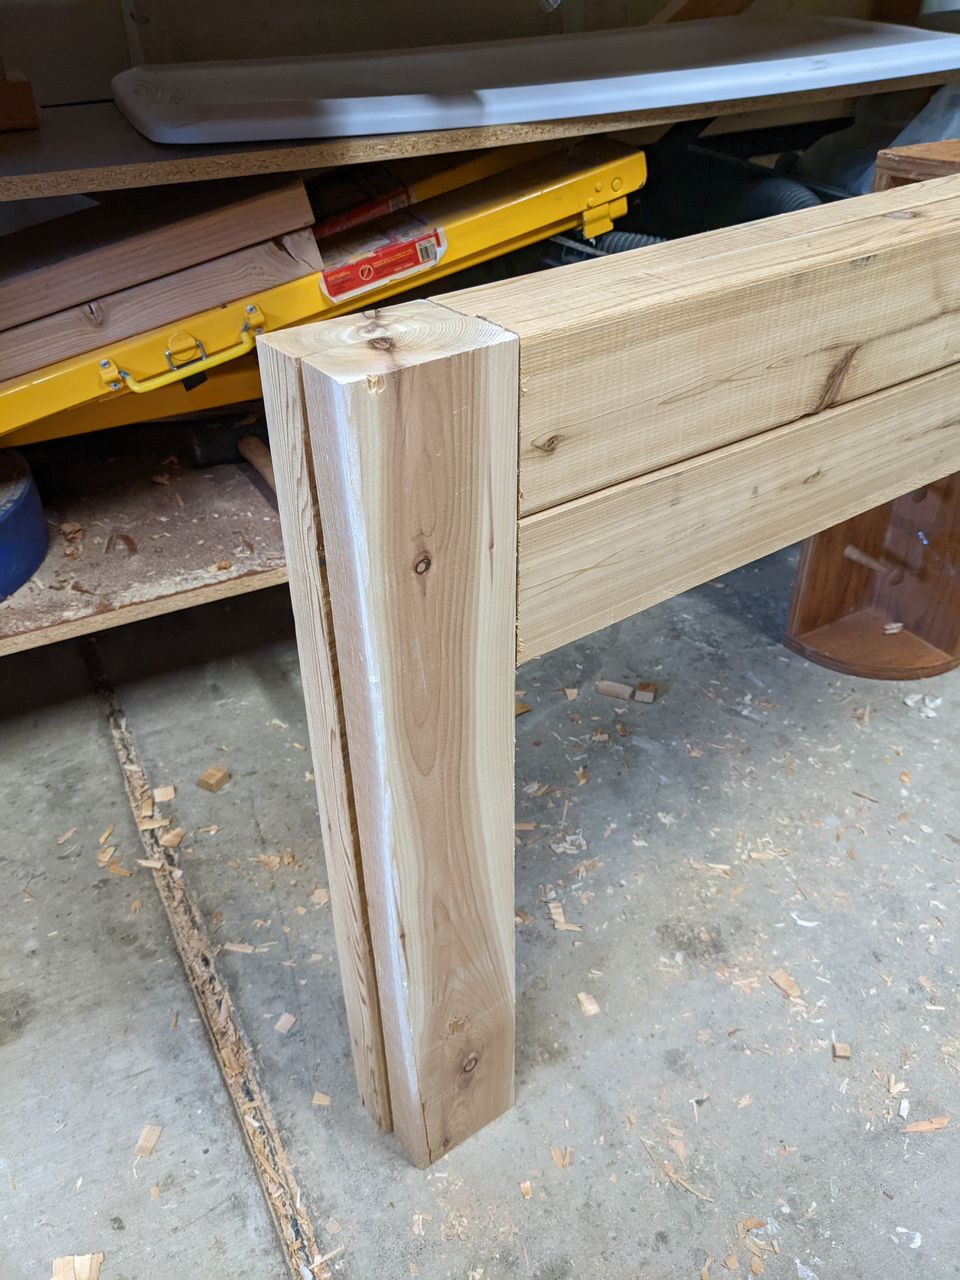
After assembling the two sides, I glued the whole thing together, using what clamps I could, along with my brad nailer to add some hidden brads to help hold things in place while the glue dried. To hold the frame together, I used a couple of tie downs as a band clamp for final assembly.
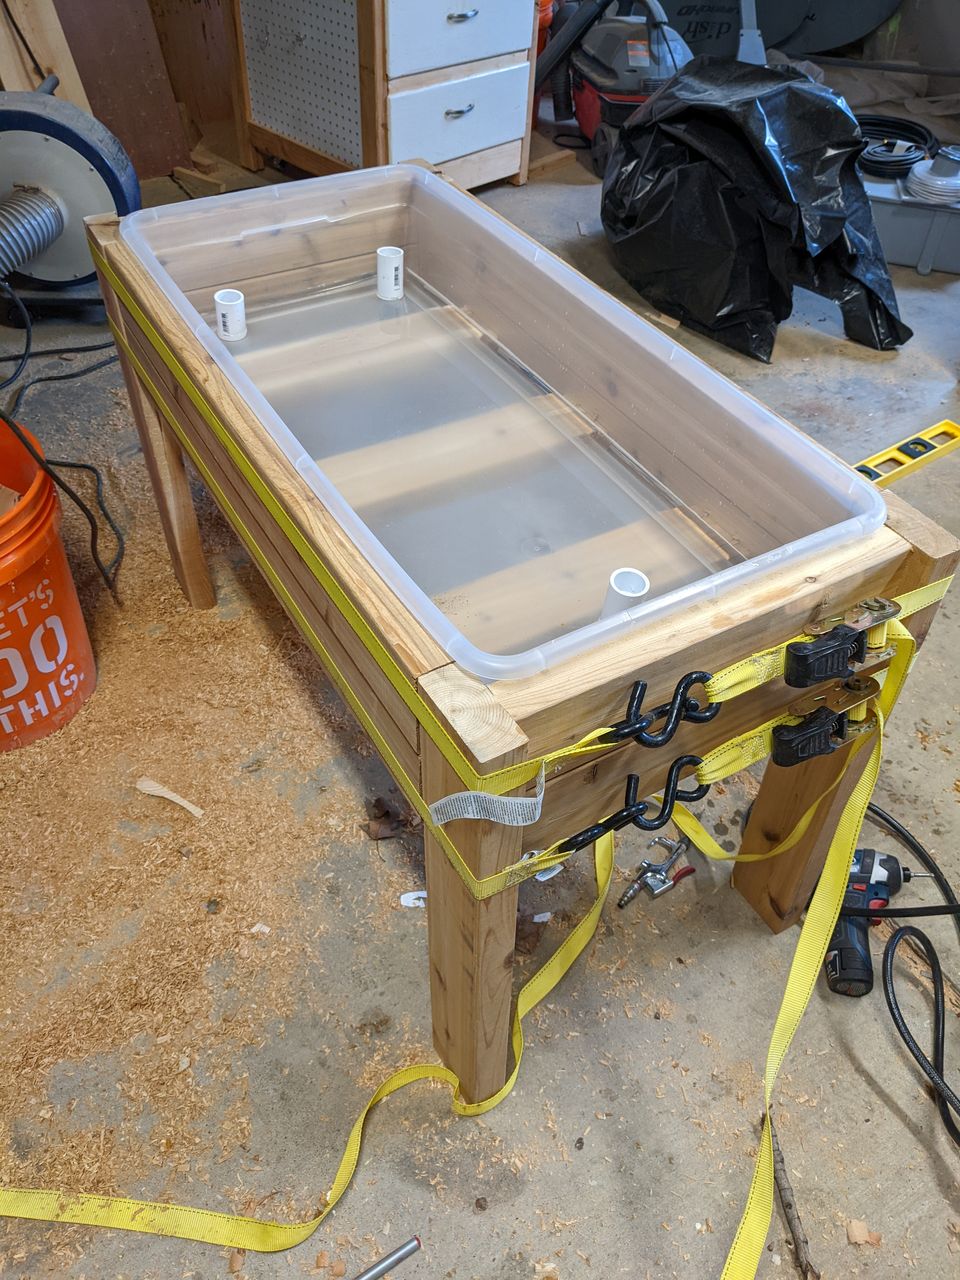
After the outside frame was assembled, I attached 3 additional pieces of 2x4 under the mud container with a couple of deck screws angled in either end. This will provide support for the weight of the sand in the container
Testing and Pump Problems
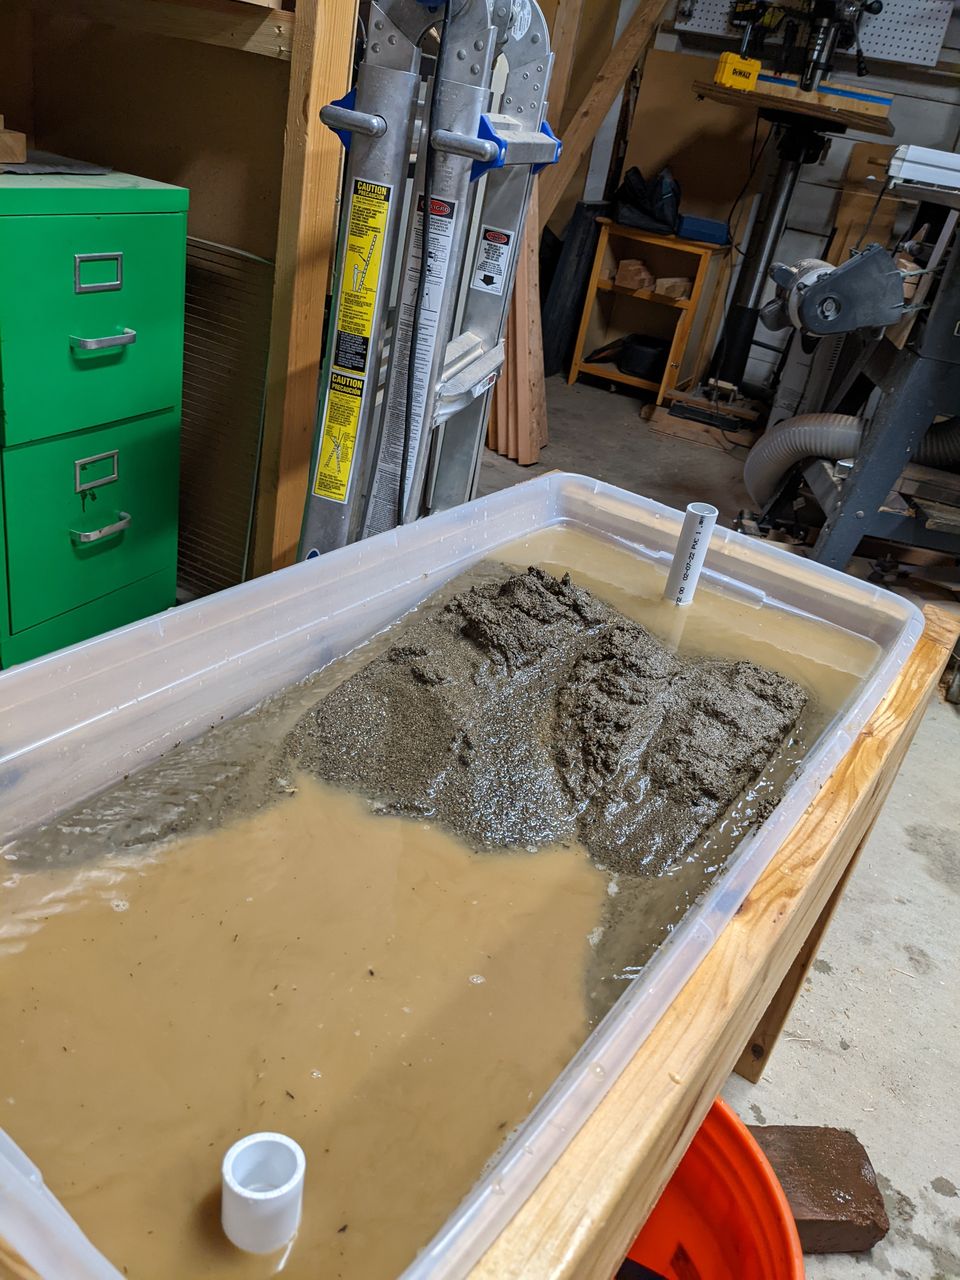
To circulate water through the system, I purchased a 55 gallon per hour pond pump that plugs into 110V AC. This small pond pump is perfect for running water though the system. With a 5-gallon bucket under the table holding the pump and a reservoir of water, I don't need to worry about the system overflowing. It puts about 2 gallons into the container before the outlets are submerged and water begins returning to the bucket. This gives some space at the bottom of the bucket for any sand entering to settle out.
After drilling holes and attaching the PVC pipe inlets and outlets to hose under the table, I tested for water tightness and then added sand. I quickly discovered the play sand, while not made from silica sand, is still pretty messy and has a lot of silt in it.

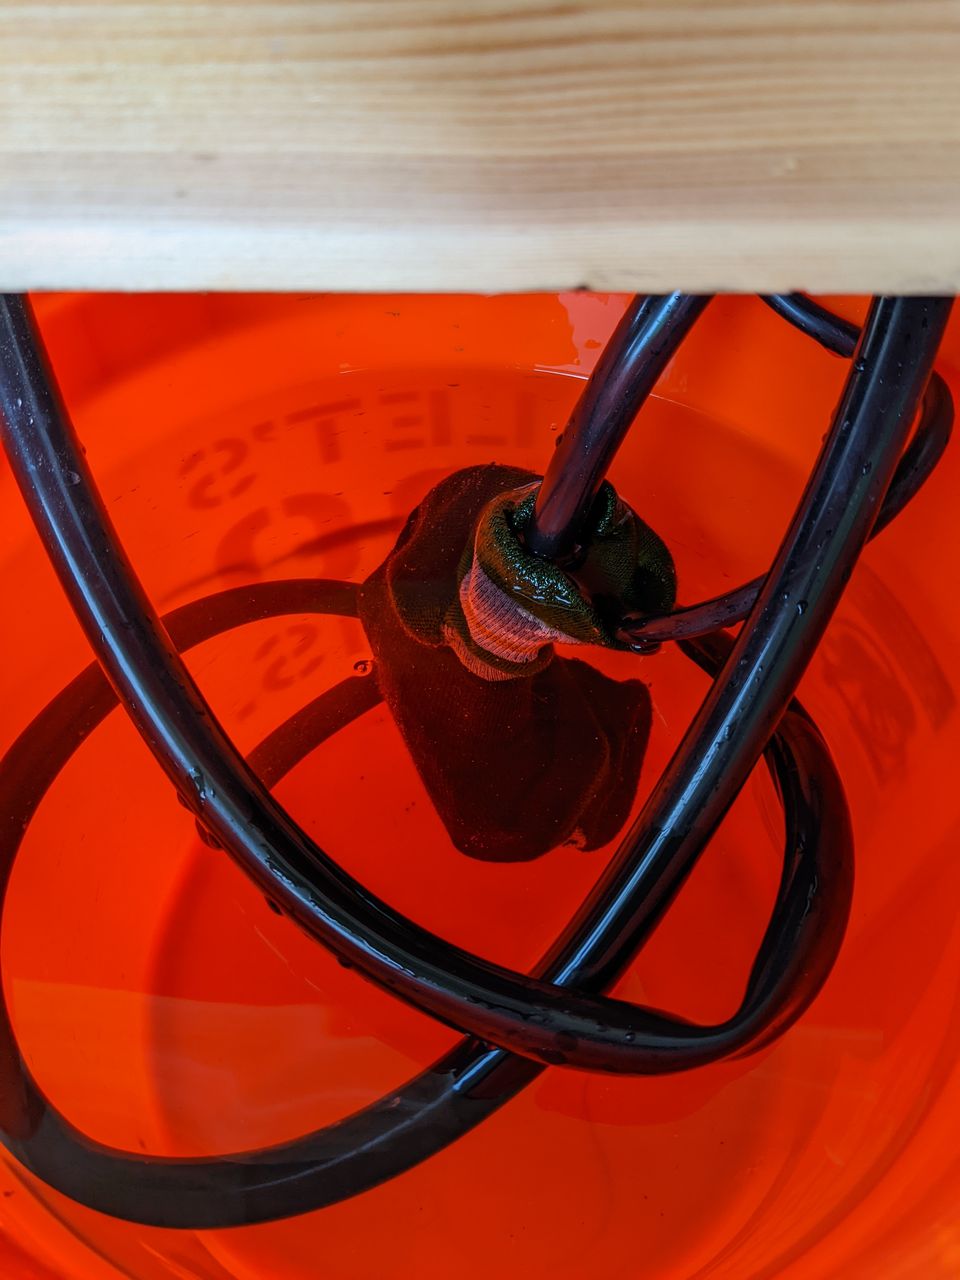
I had initially planned to place a smaller 2 gal bucket inside of a five gallon bucket, with the pump inside the smaller bucket and it's lip serving as a baffle to help keep sediement out. This didn't work and I quickly found the pump making a strained sound. I ended up fixing this by spending several hours running clean water from a hose into the bucket, and letting the outlet drain off the side of my patio. This helped clear up the water running through the sand, but I still wanted to keep the pump from clogging. I was looking for a material to use as a filter when I found some tight knit old synthetic hiking socks. I wrapped the pump in these, and let it hang in the bucket rather than sitting on the bottom to avoid picking up the heavier sand particles. This seems to work great.
The inlet
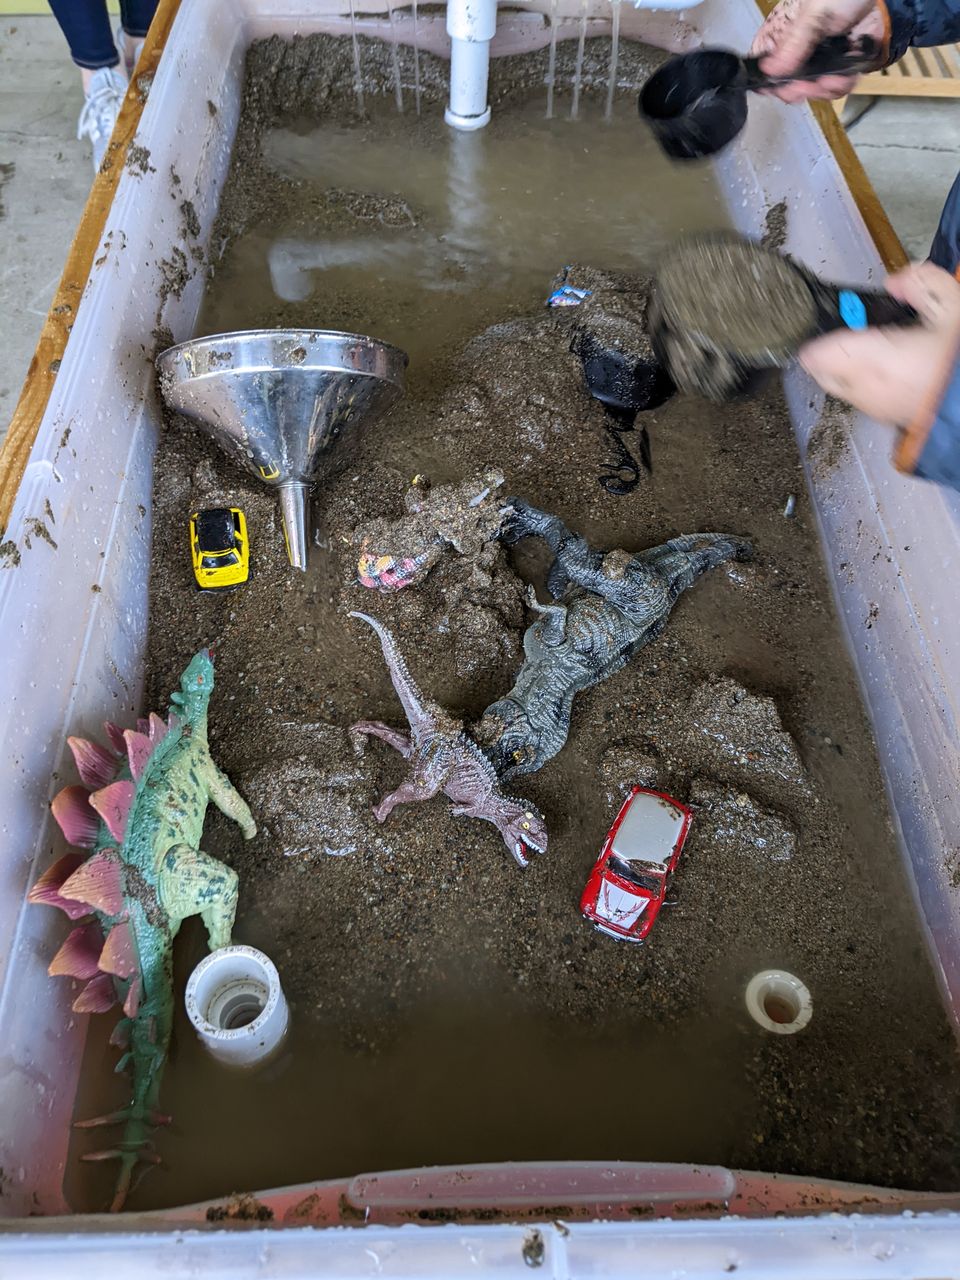
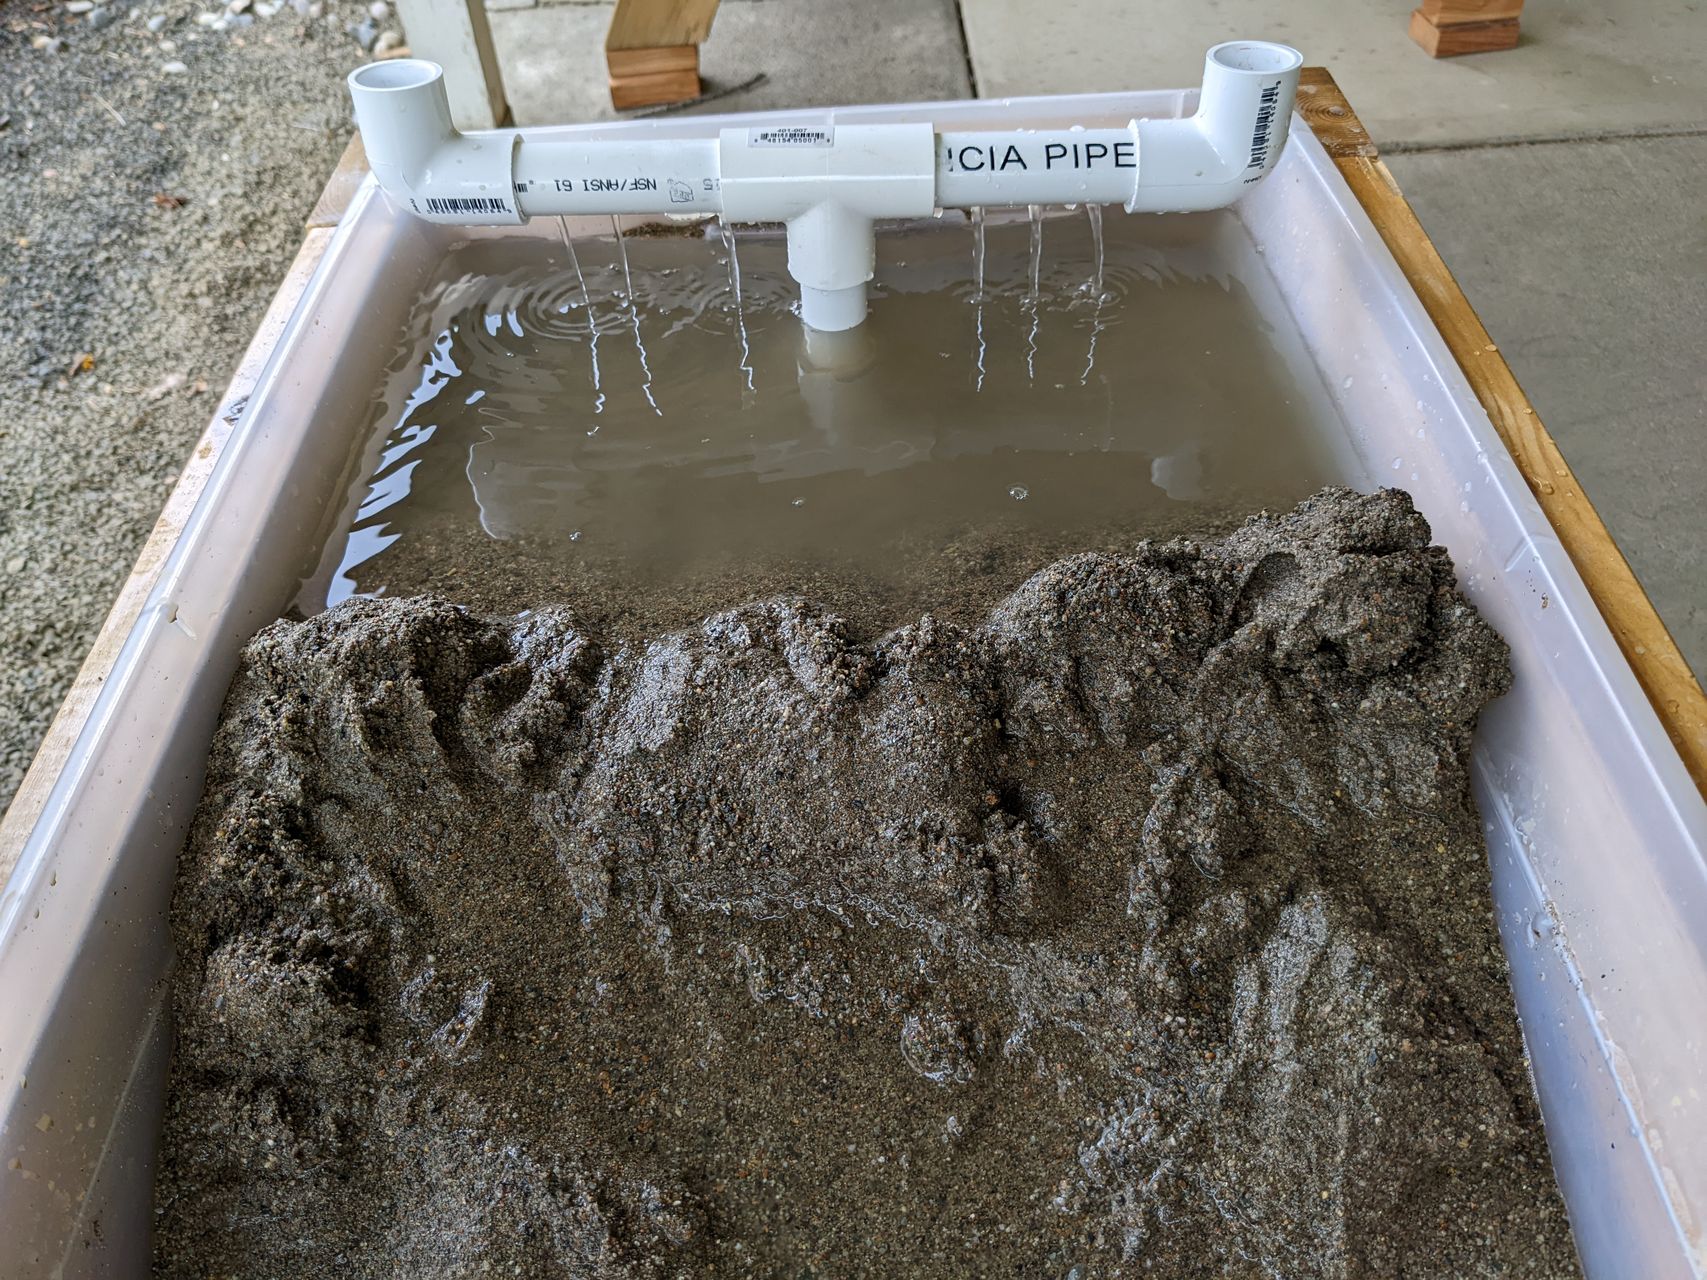
I had planned to include not just a single inlet to the system, but something to distribute water to either side. I cut a few pieces of PVC and bought a couple of elbows, with the plan that I will make these loosely fit and my kid can reconfigure them as needed. For the unveiling for his birthday, I setup two pieces of PVC as a 'dripper', with a few small holes drilled on either side.
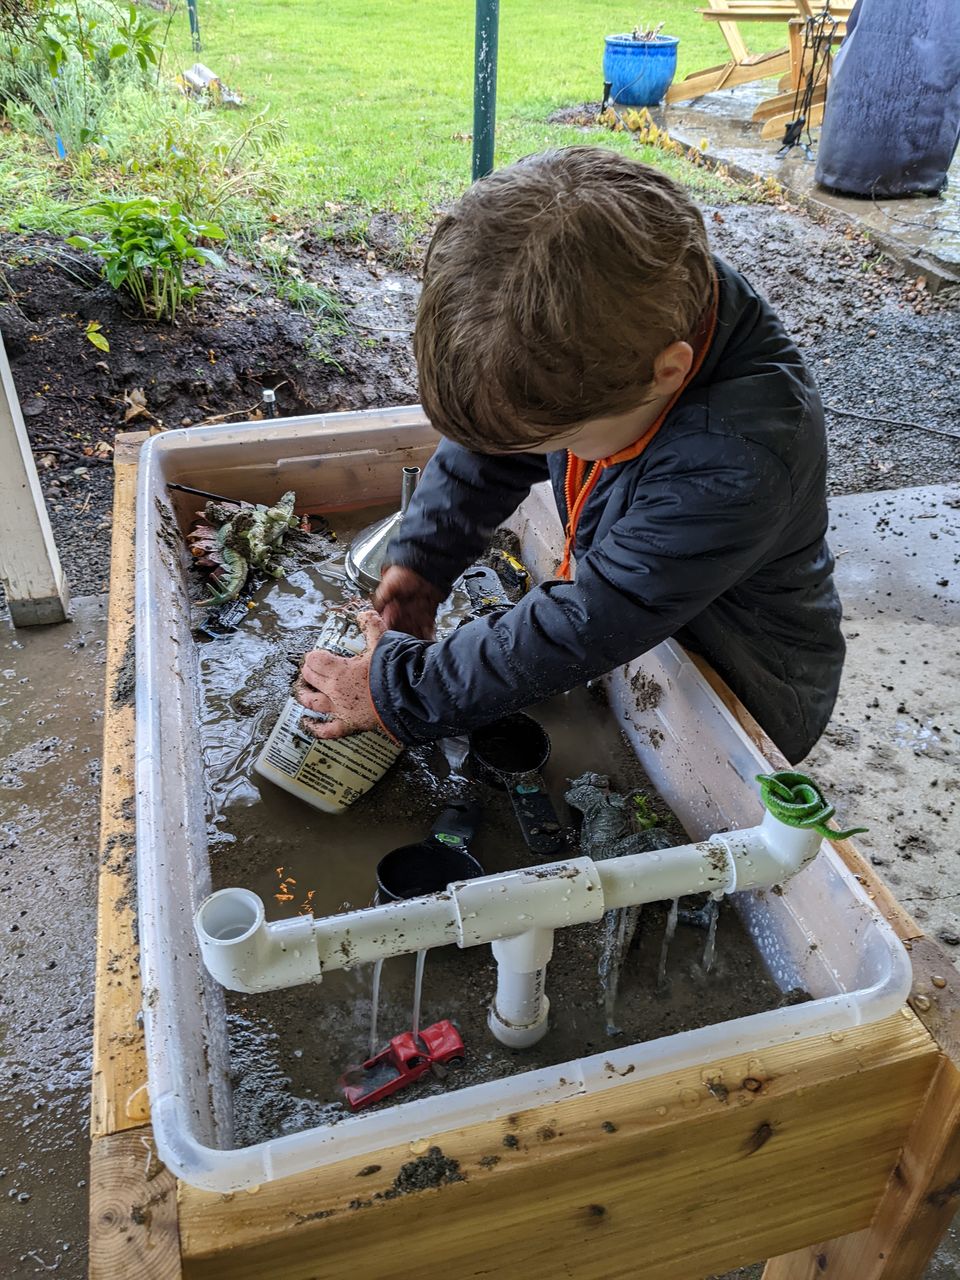
Playing with it
This Saturday I got to reveal the mud table to it's rightful owner during his birthday party. He played with it for a couple of hours while his friends participated and variously found other things to do. I think this table will be a mainstay of our summer outdoor activities, and I am going to have to resist using it for my own experiments.